| 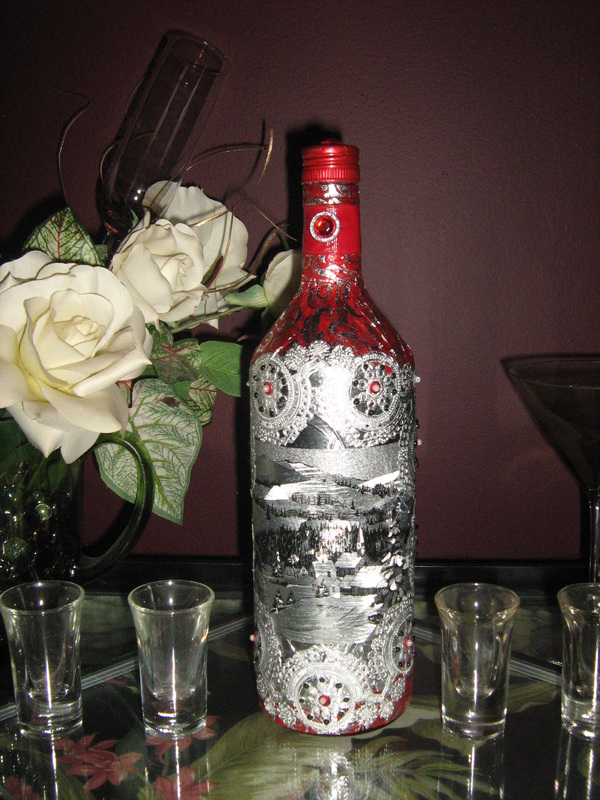
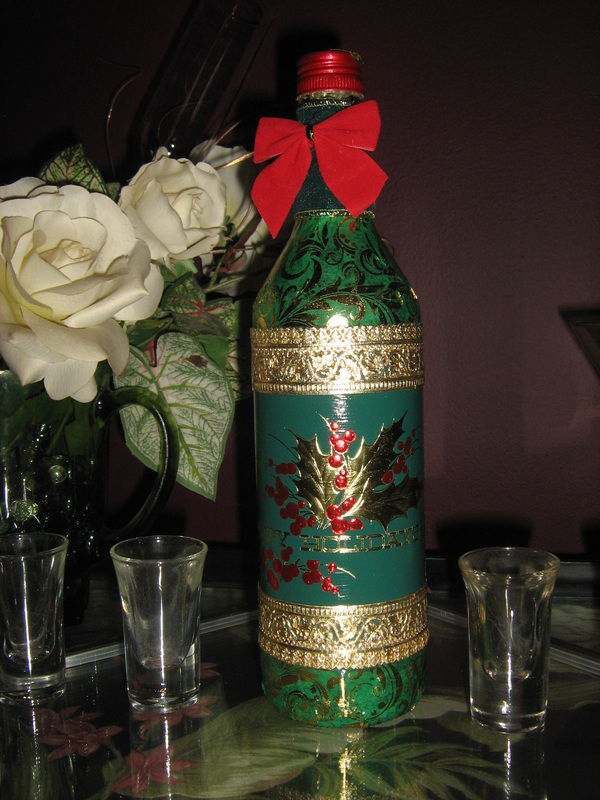
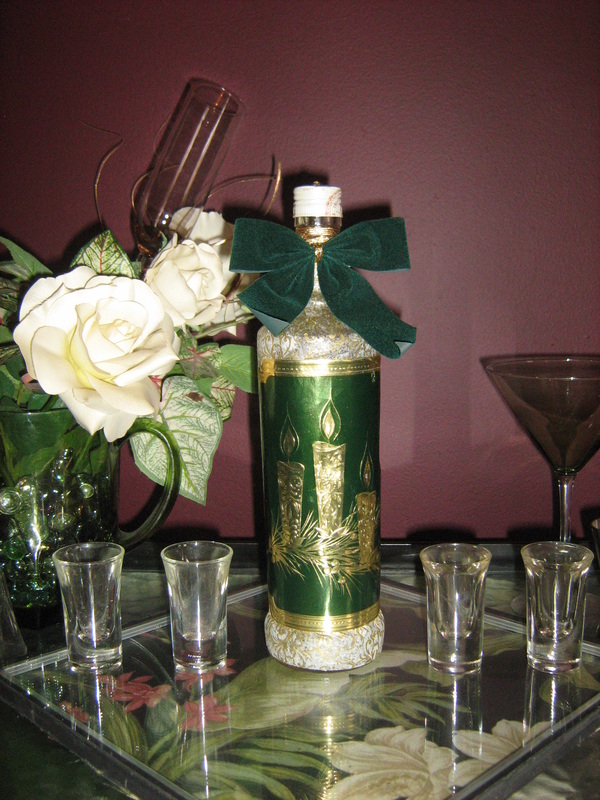
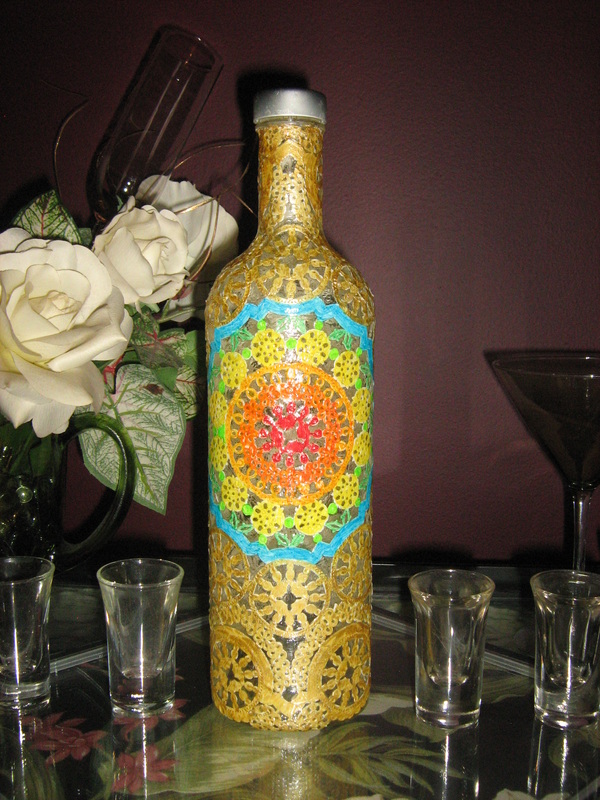
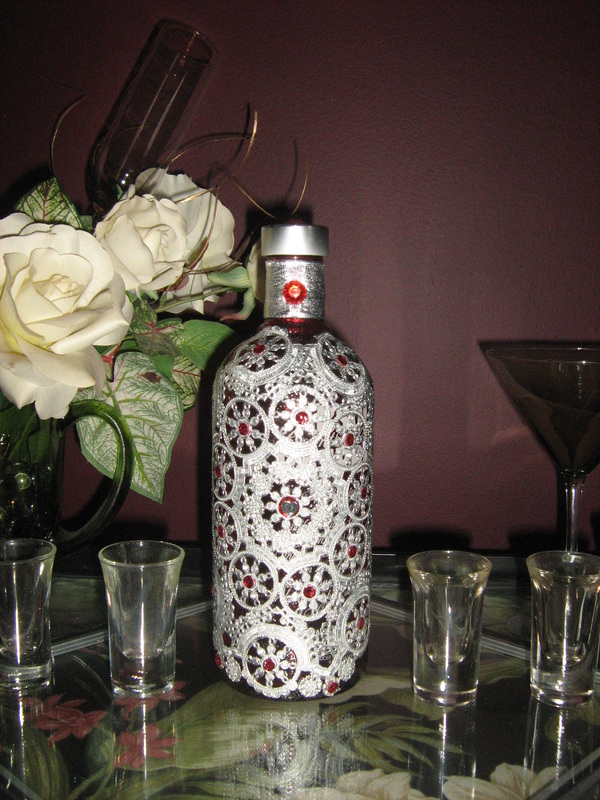
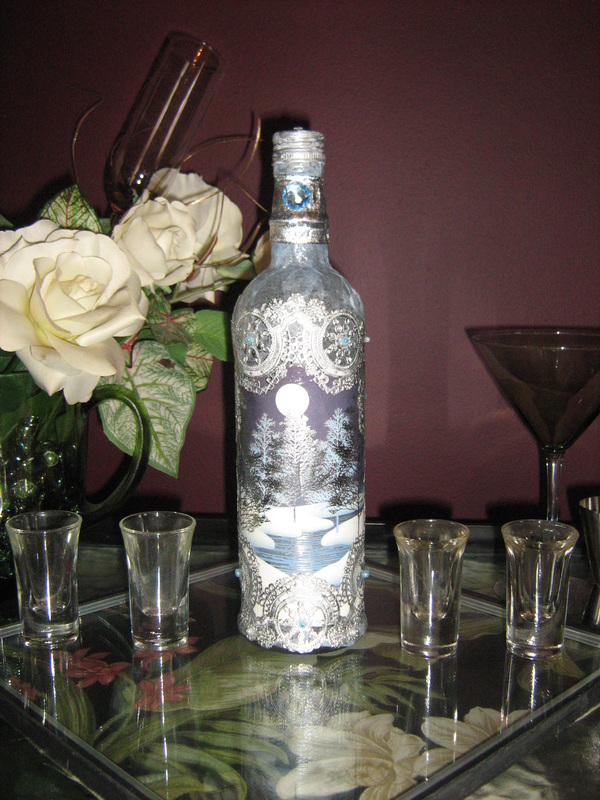
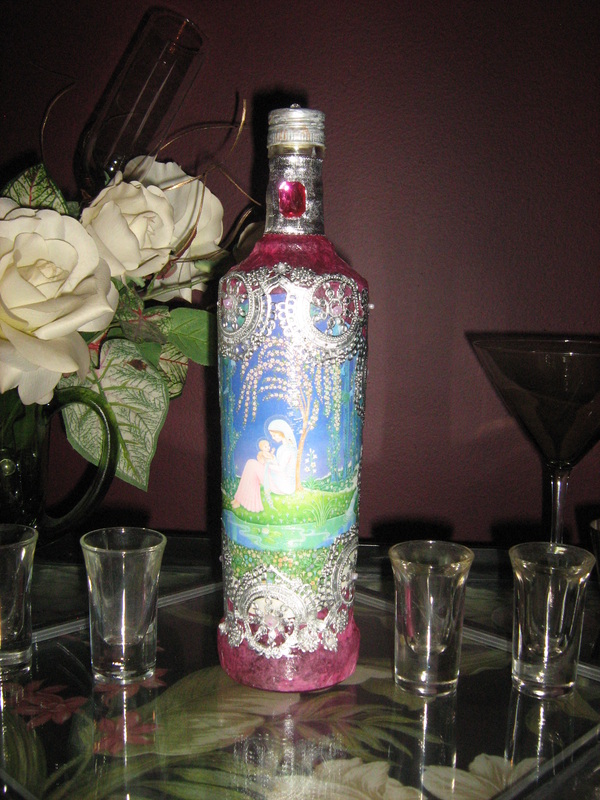
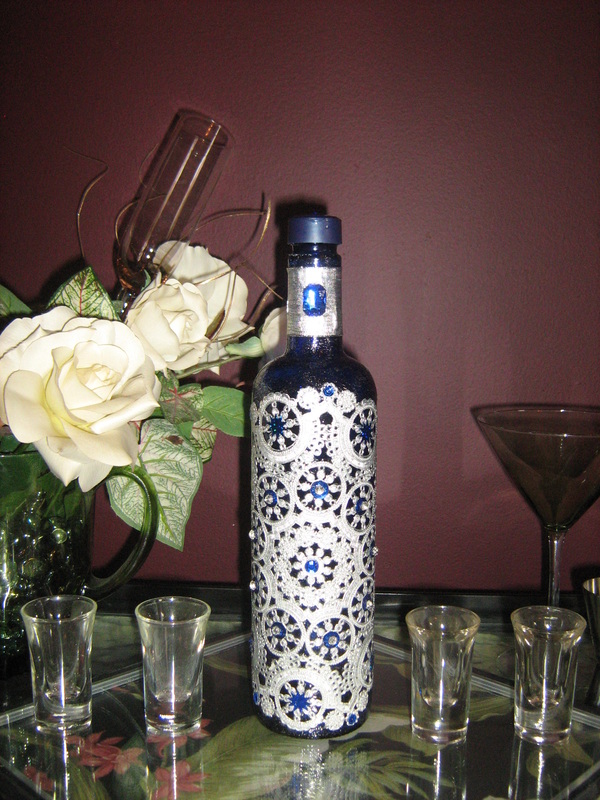
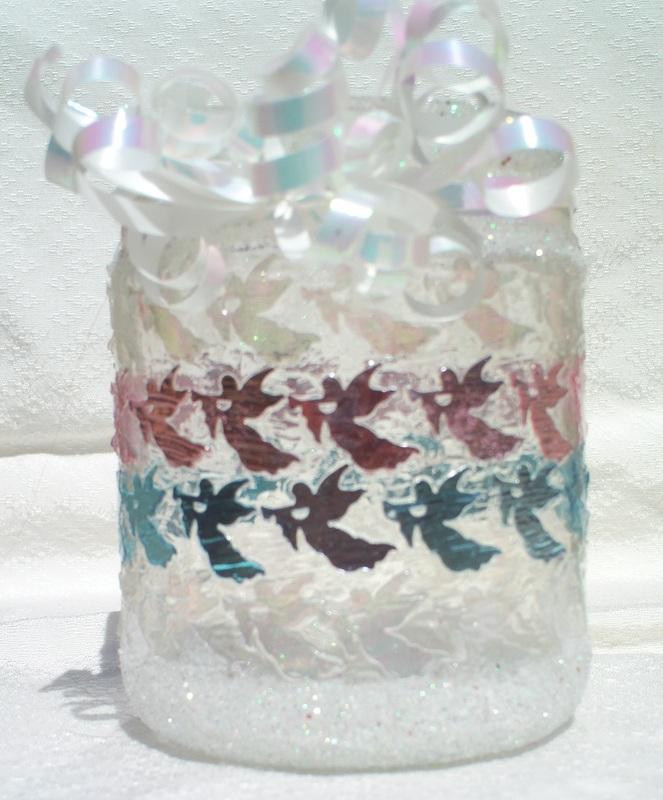
All but one bottle has an antique doilies decoupaged onto it. I found these at a garage sale and there were 100's for $5...what a great deal! 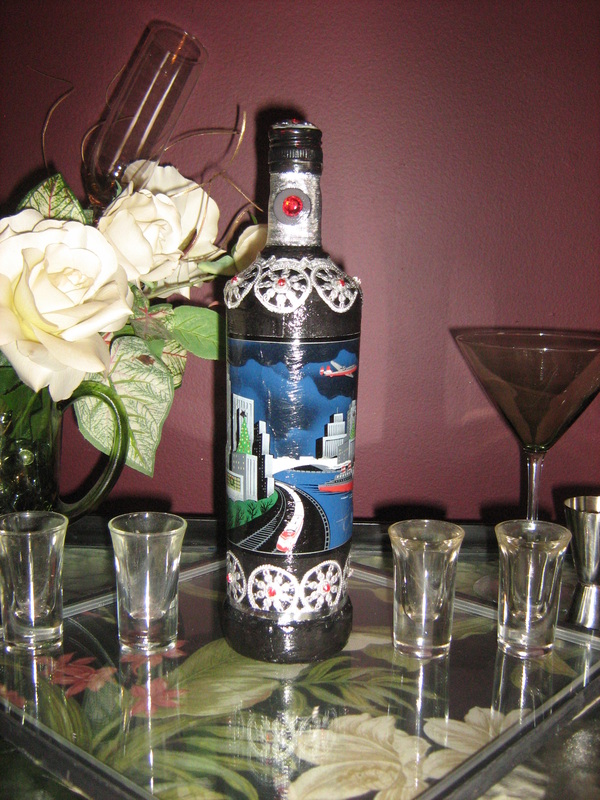
| 
|
0 Comments
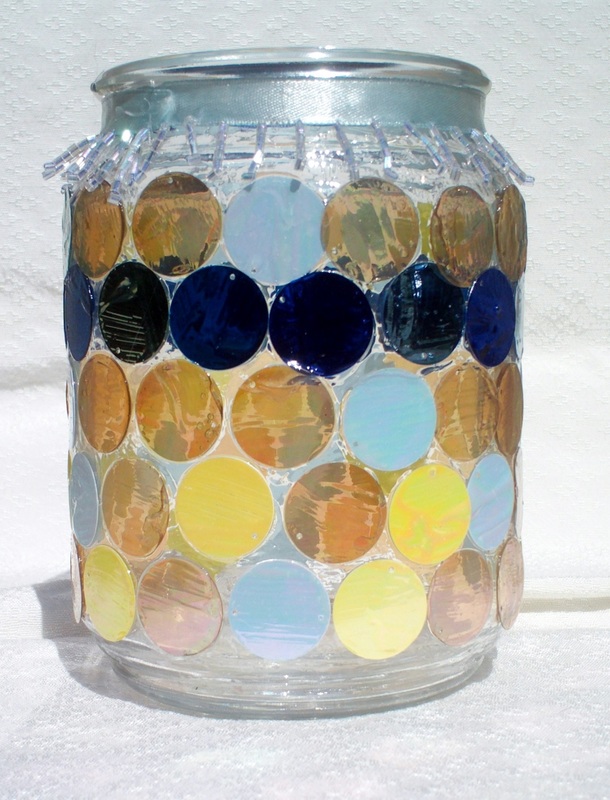
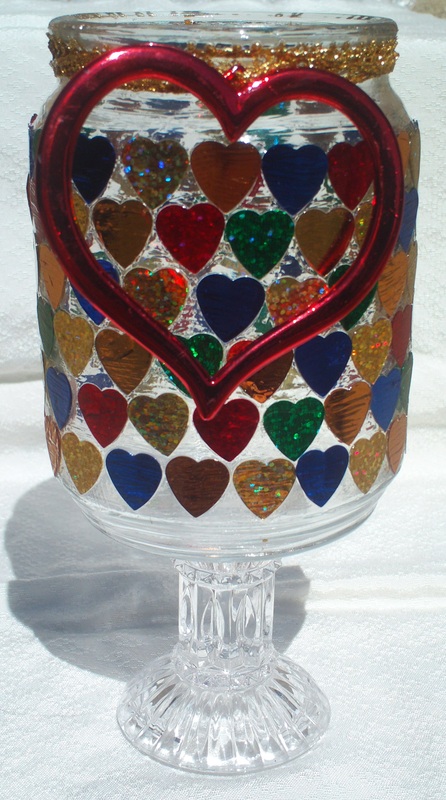
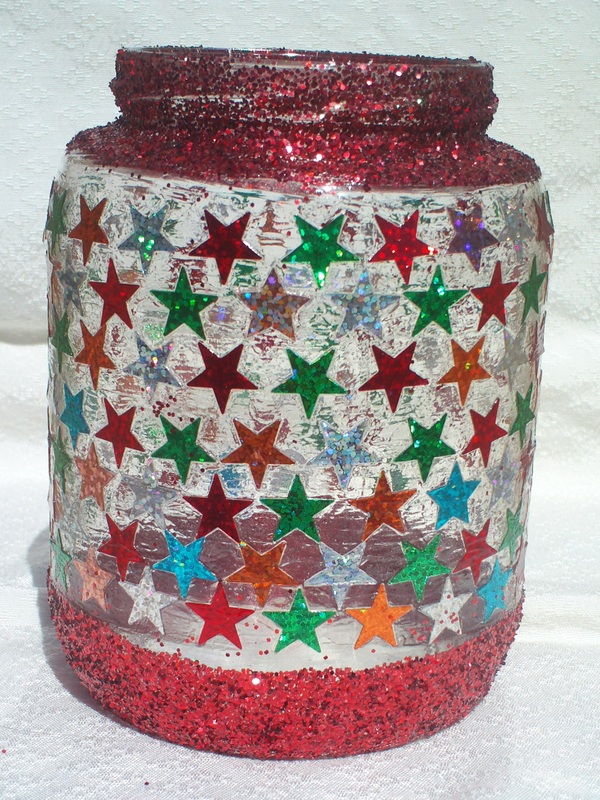
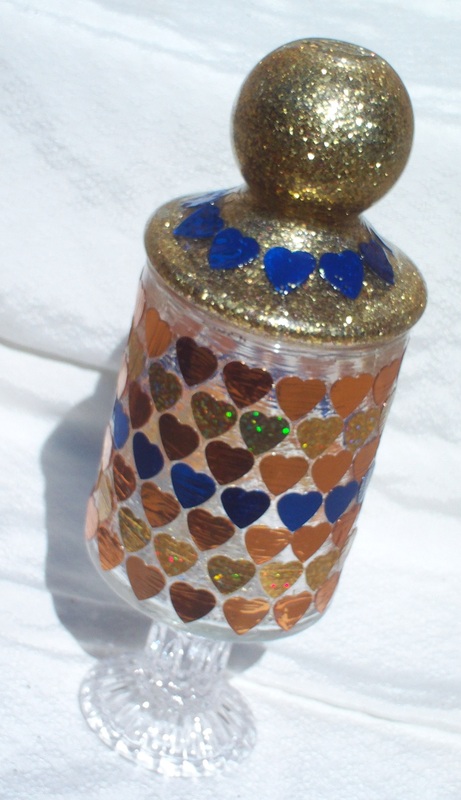
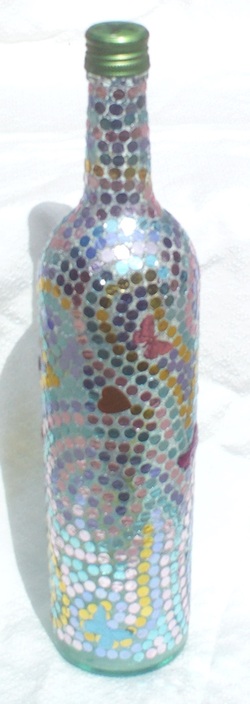 This took so many hours to do. I made a great design with hearts and butterflies in it. It is so beautiful!
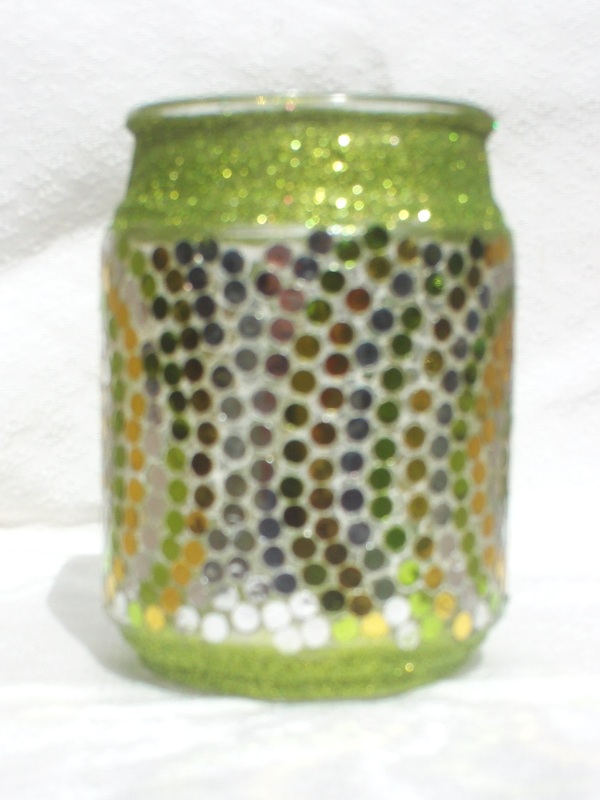
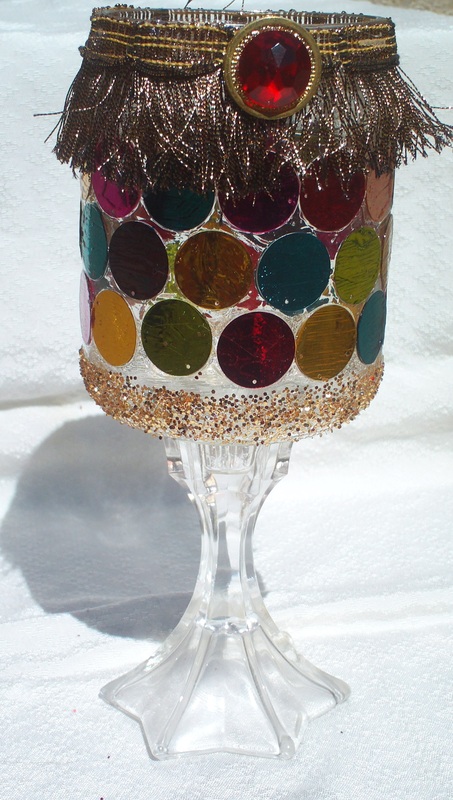
I enjoyed making these but let me warn you they take a lot of time. Clean your glass and decide on your design then begin laying the sequins. Once dry add a coat of clear spray or modge podge!
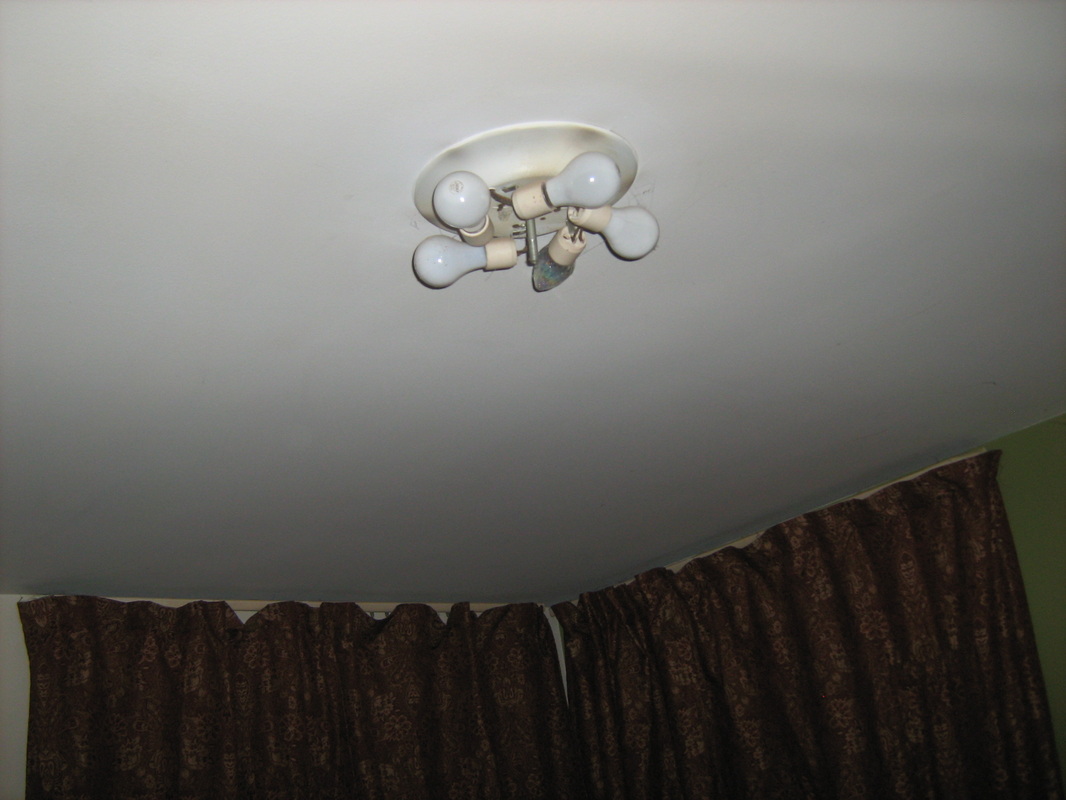
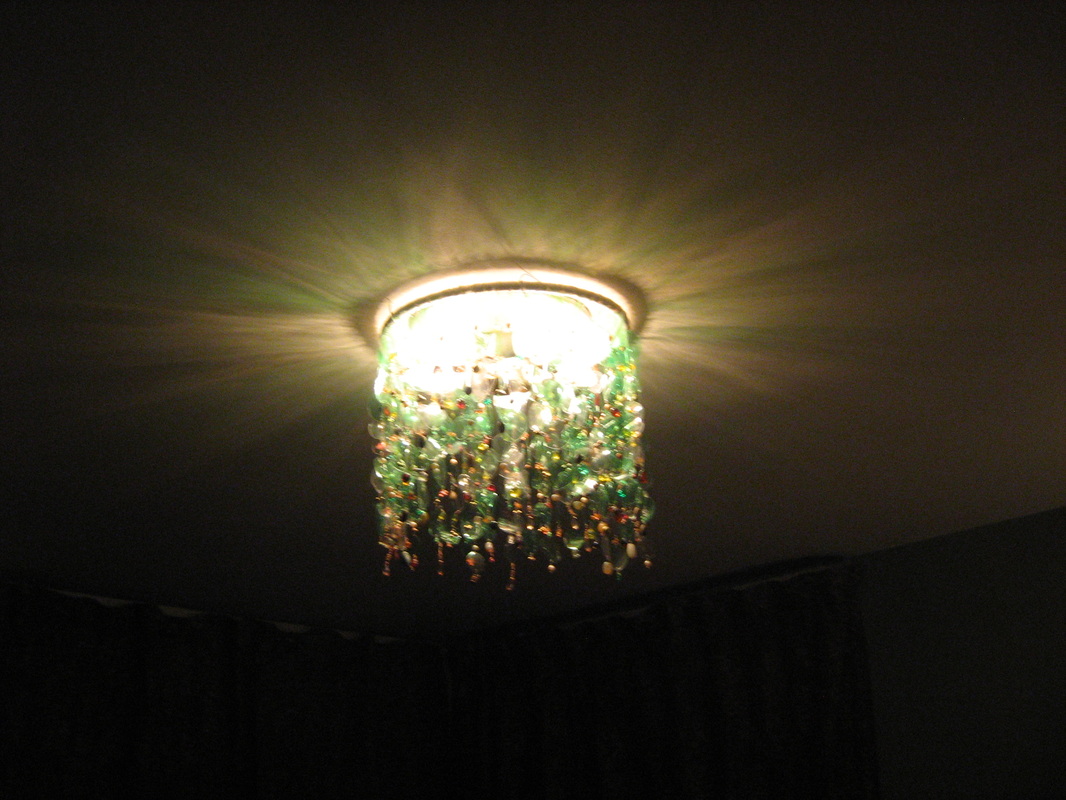
my green green & not much green chandelier has it's name beacause it is green in color, green in that it is made from pop 2 lt's and water bottles, and not much green because I had to spend $8.50 on brass wire when I ran out...but i only used about half so more like $4.25 and that is not much! Everything other than the wire I bought I had in the art studio.
When I started I switched the bulbs to smaller bulbs and my honer put in a dimmer switch for me. I cut out roundish to oval shaper close in shape peices from 7 up, siera mist, and sprite pop bottles for the green peices. I used water bottles for the clear peises. I made strands by stringing them together with wire and beads in between them. I had a found large plastic round hoop the perfect size as a base. I wound white ribbon around it to hide the brown and the wires holding them up. My honey hung it up with two hanger wires...... we love it!
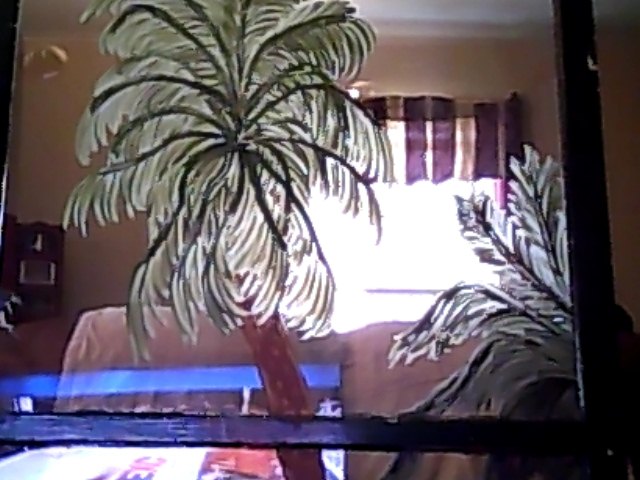
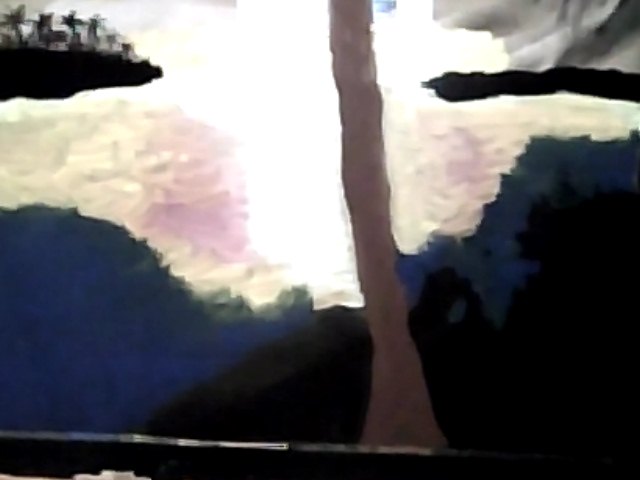
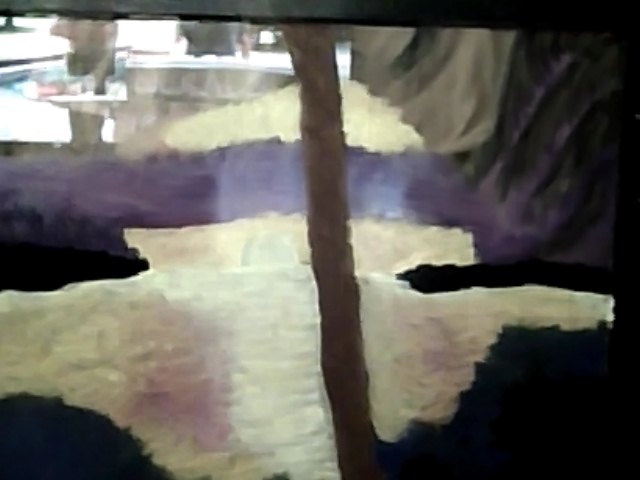
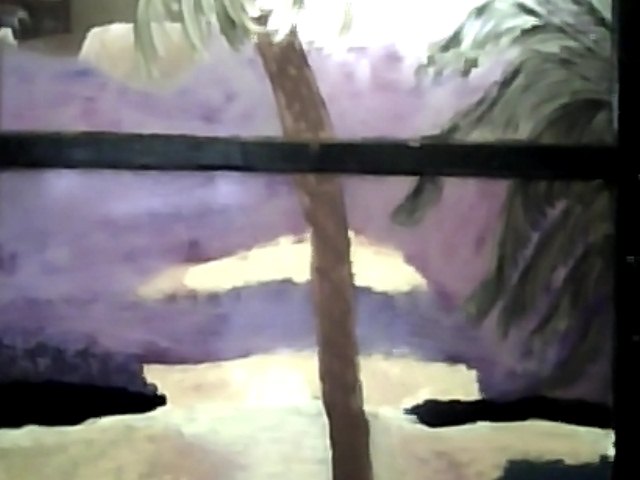
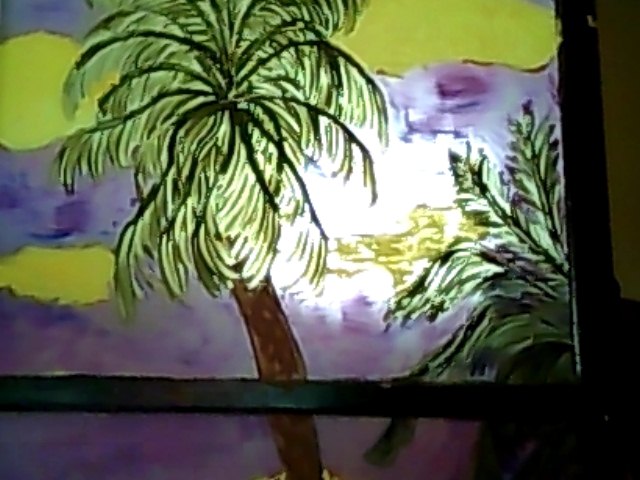
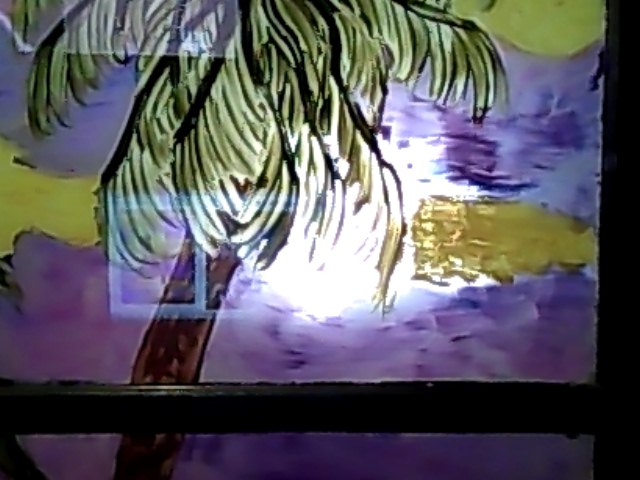
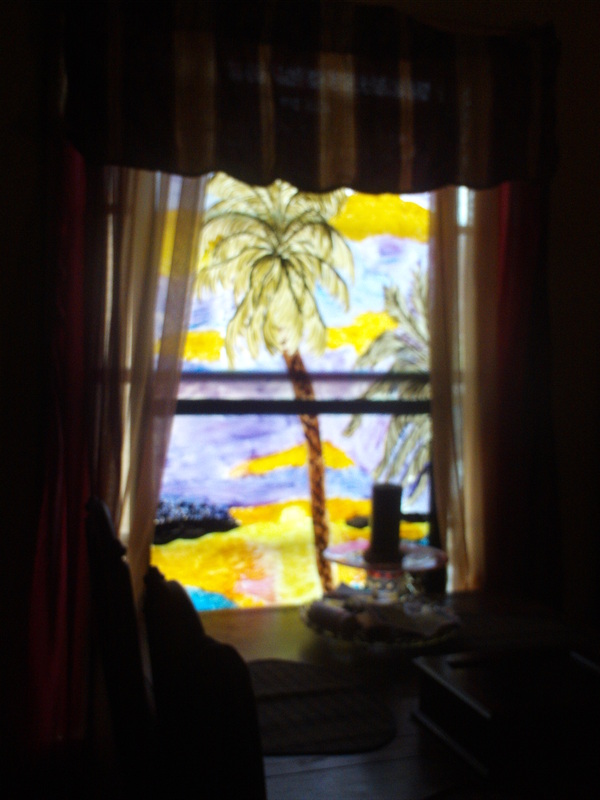
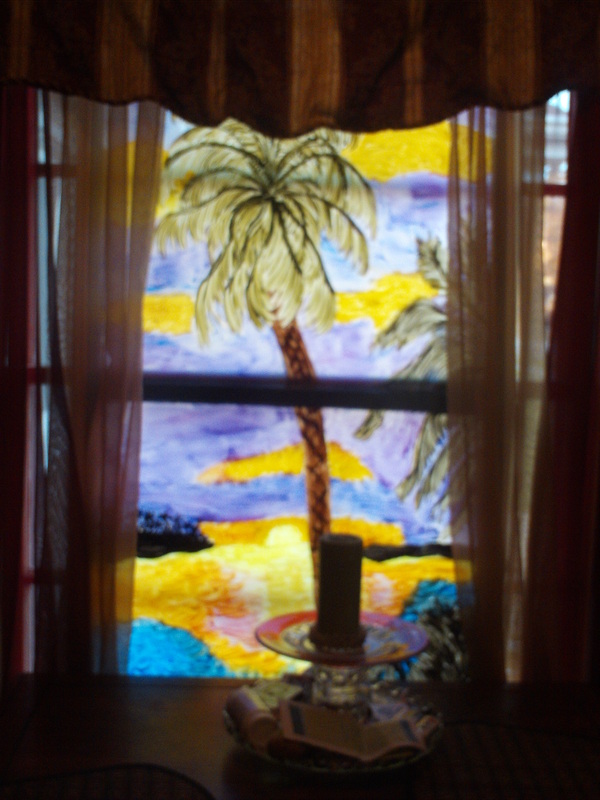
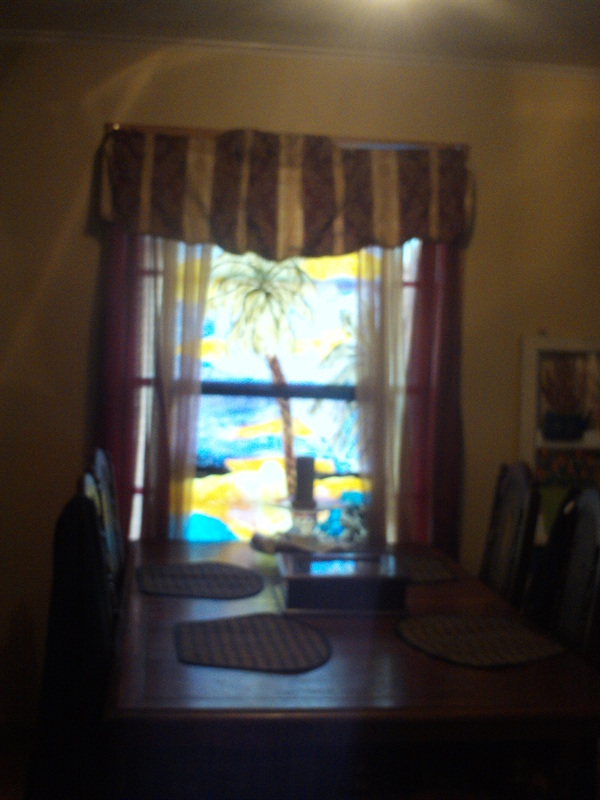
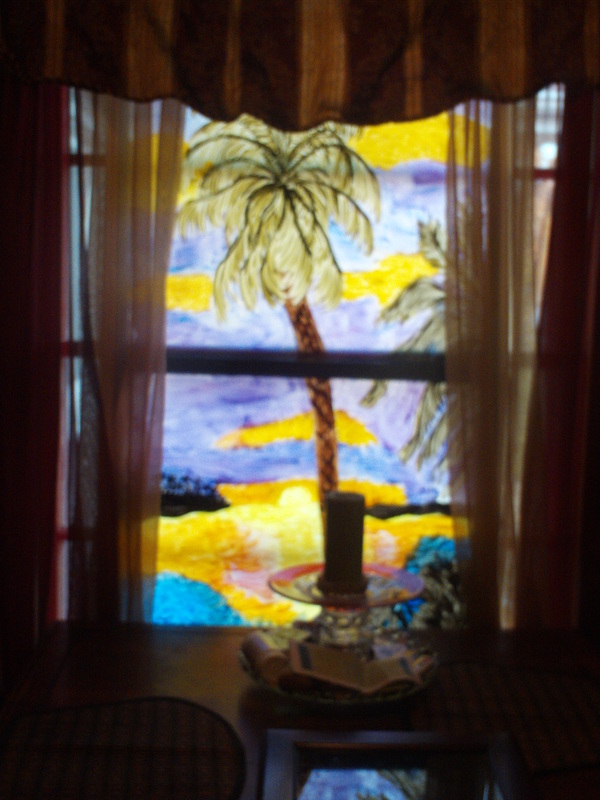 We all have a window that looks at nothing, a wall, or in my case the garage wall. So what to do to make it a little more interesting and warm??? Why just wish for that magnificant view? I created the view of my dreams! I took an old window I found and painted a tropical sceen on it. Before painting I cleaned the window with rubbing alcohol and took care not to touch the glass with my skin. As I painted I was careful to not overlap the colors. When it was dry I put it in the window and proped it up higher with a 2x4 so that the center peices in the windows matched up. you can make this what ever you want...you could even have the kids do it and change it out as often as you like. At night the people outside get to enjoy the veiw!
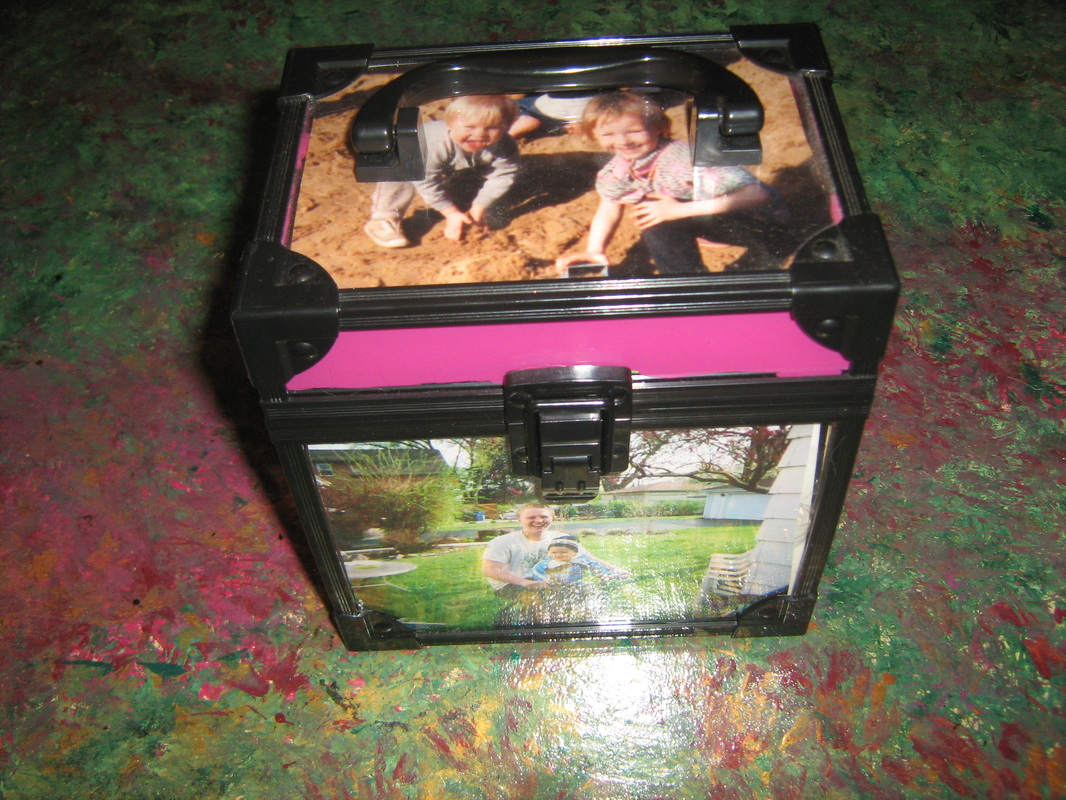
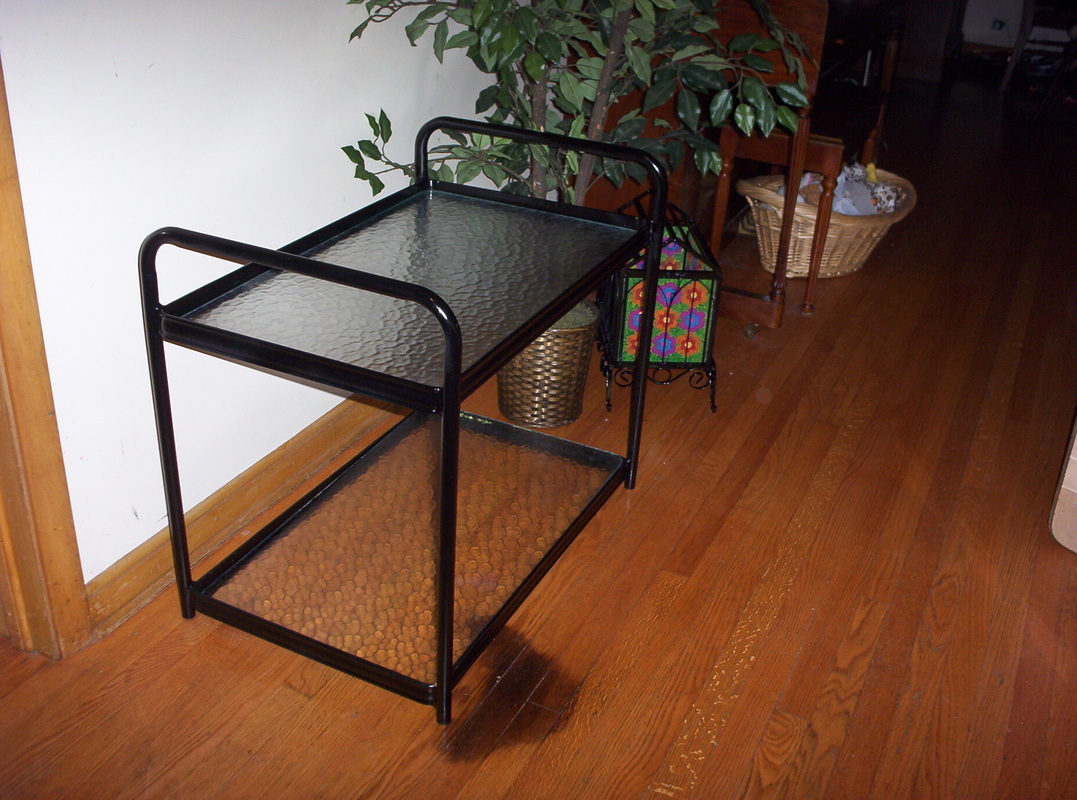
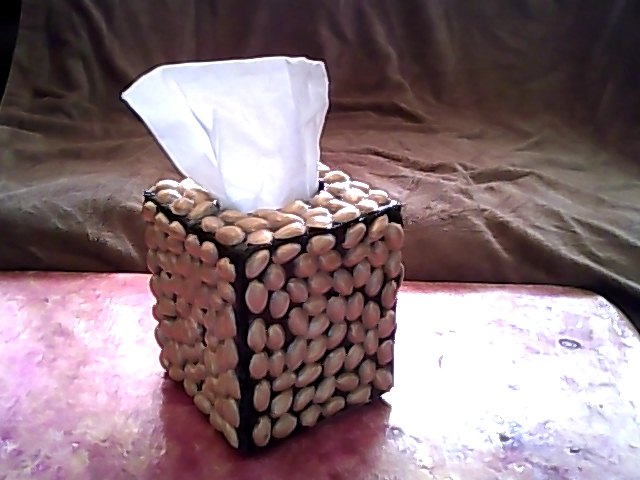 Another very easy project but you must plan for it! You have to eat a bag or two of pistachio nuts. Save the shells and wash in warm water let dry for a day or two. Meanwhile find a cardboard box that is around 20 inches squared. Take an empty tissue box and take it apart. lay it out only leave off the bottom (so you can put in a new box ) and the seem side make a whole side like the opposite. It is important to make it a hair larger than the tissue box so a tissue box will fit into it. Make sure to trace the opening at the top too. I used a heavy brown cardboard box so I only scored the outline into it then folded it and hot glued it. I painted the whole outside black. After the shells were dry I painted them gold then glued them to the black box and in the end put a coat of modge podge. I really love how it turned out and again it was free! 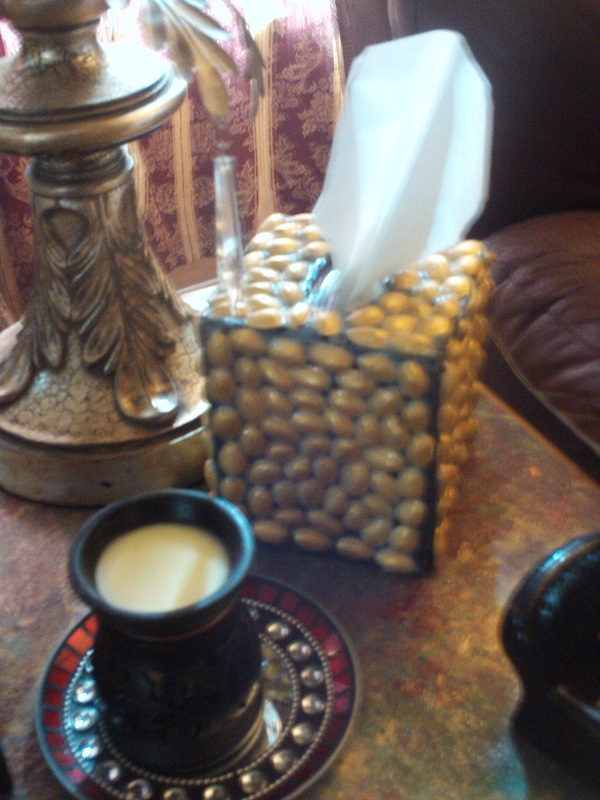
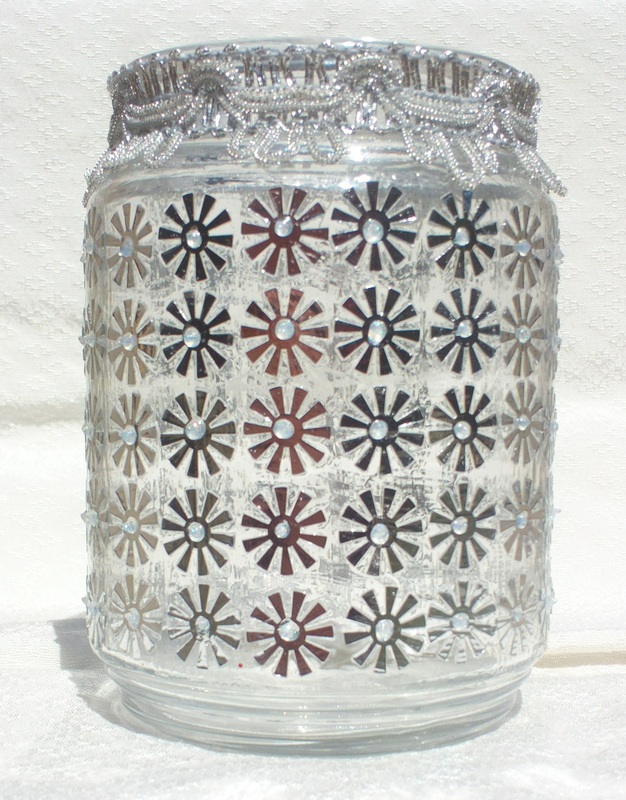
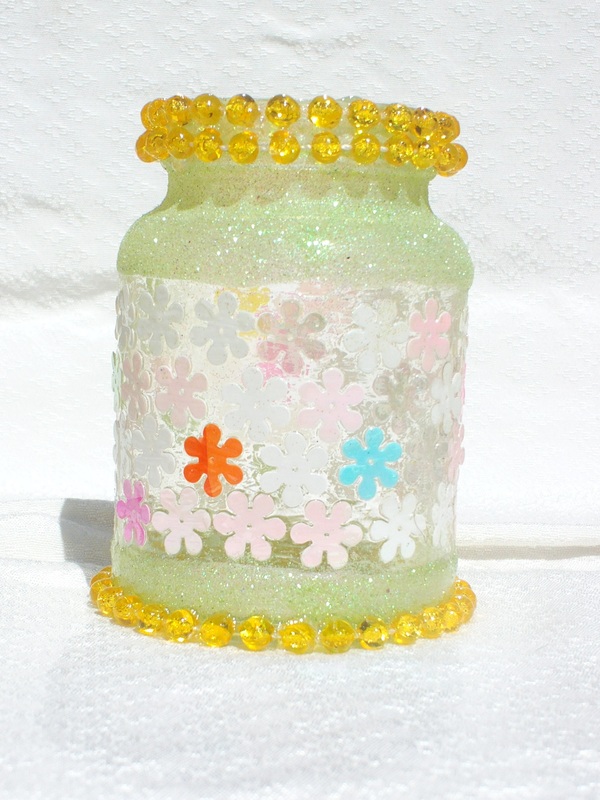
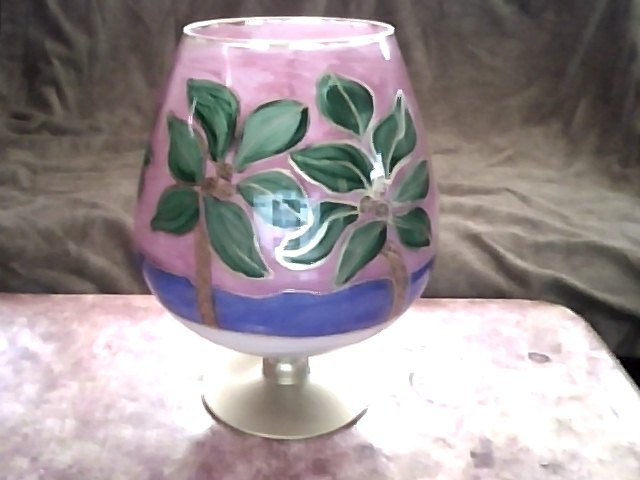
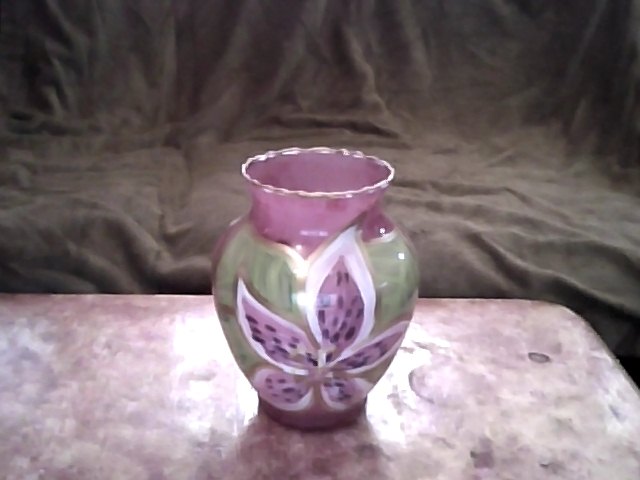
These are so easy to make and are bueatiful when a tea candle is lit.
what you need clear glass vase dry erase marker 2 or 3 paintbrushed cut in half so the length is shortened to fit inside the vase paints (acrylic) Gold or silver paint rubbing alcohol soft towel to make the paint stick you have to clean the inside with rubbing alcohol and a soft cloth. clean the outside to the dry erase marker will stay on it. Draw your design on the outside of the vase with the dry erase marker. cut your paintbrushed to fit inside the vase so you can paint your design. Paint your design with only one coat of paint to let the light shine through. when done let it drt completely and then wipe off the drt erase on the outside. Lastly outline the design in gold or silver on the outside of the glass. It gives it depth and bling.....Now put a tea light in it and then tadaa!!!!! beautiful!!!!! 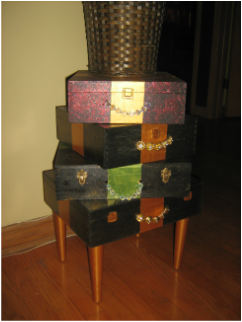 This was fun and simple and looks so nice!
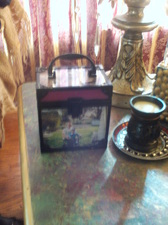
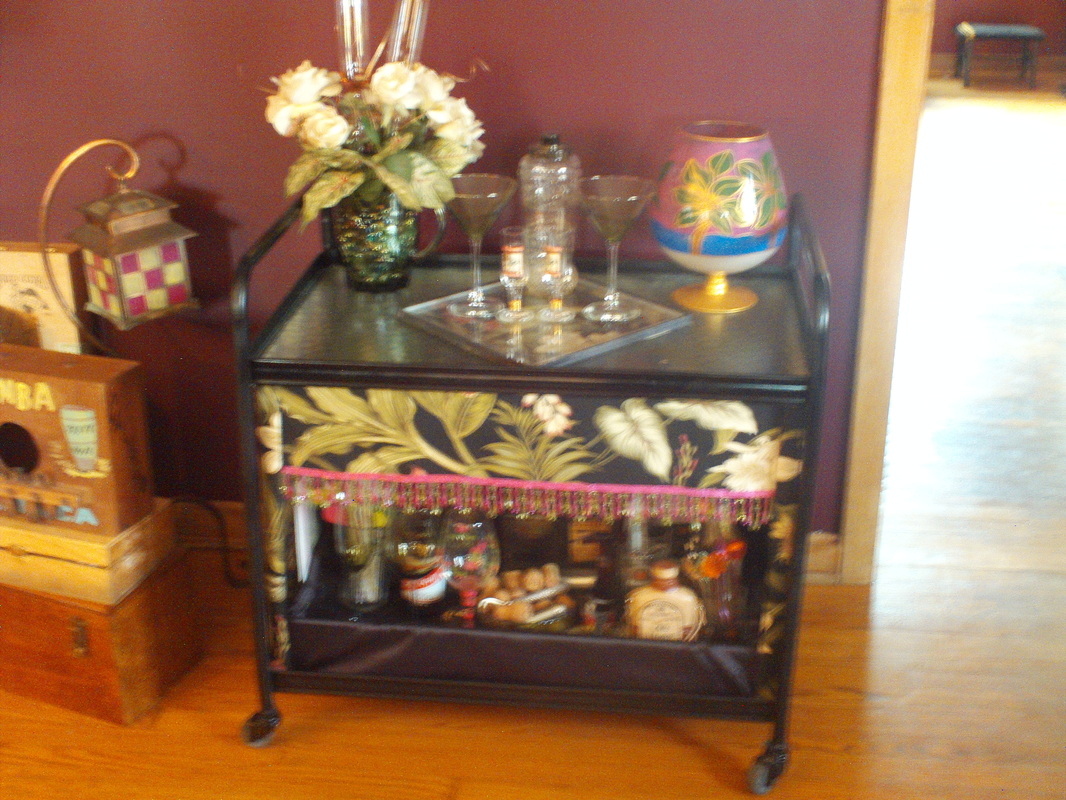
I painted the wine boxes in the design I wanted. I added 4 painted legs to the bottom of one and cut off the rope handals replacing them with decorative buttons and beads on wire and glued on the inside with hot glue. In the sun they sparkle and I have one of my fake trees on it...as I am green but my thumbs are not! Inside I hide all my cords and chargers and everything is organized. I found this lime green thing on the side of the road. The bones were good the glass was perfect and it had all four wheels
|
|


 RSS Feed