This is your new blog post. Click here and start typing, or drag in elements from the top bar.
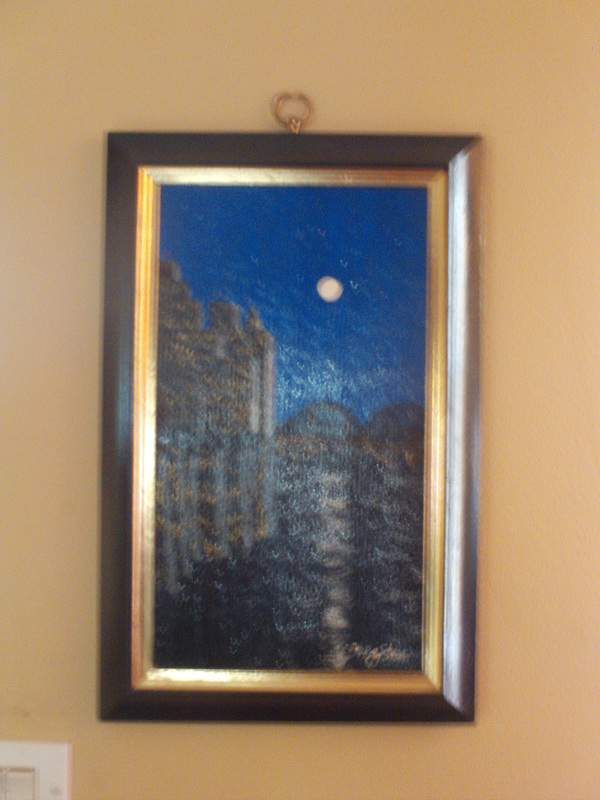
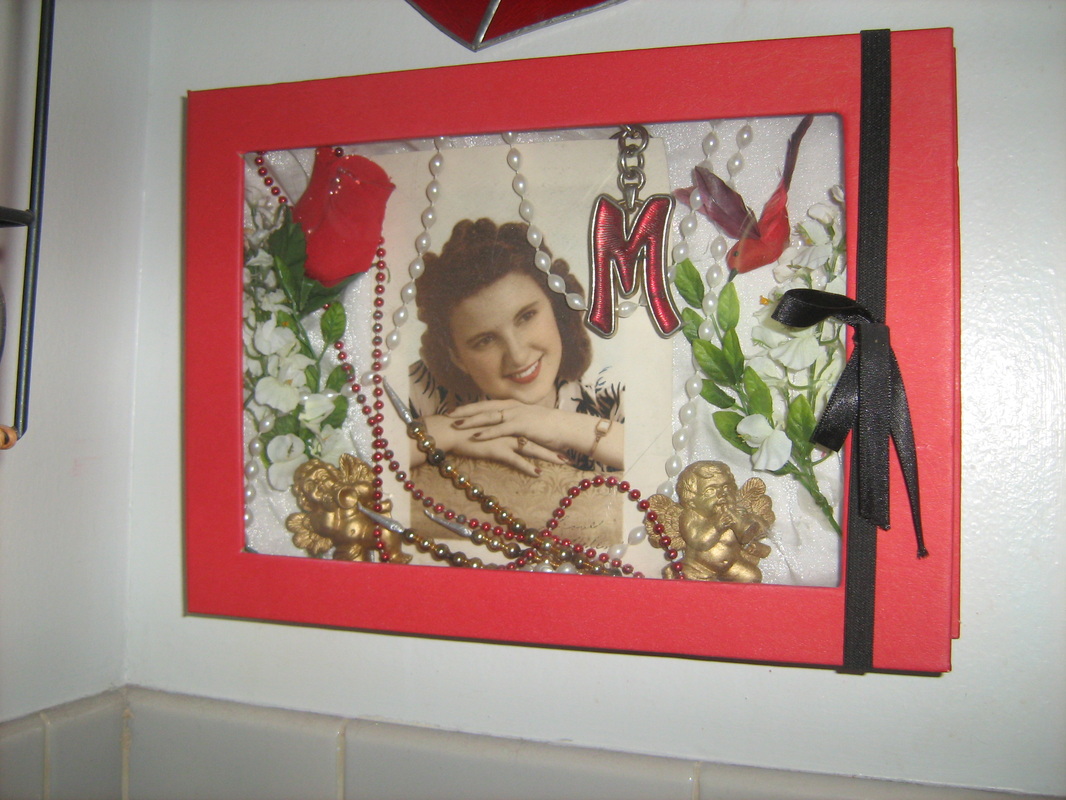
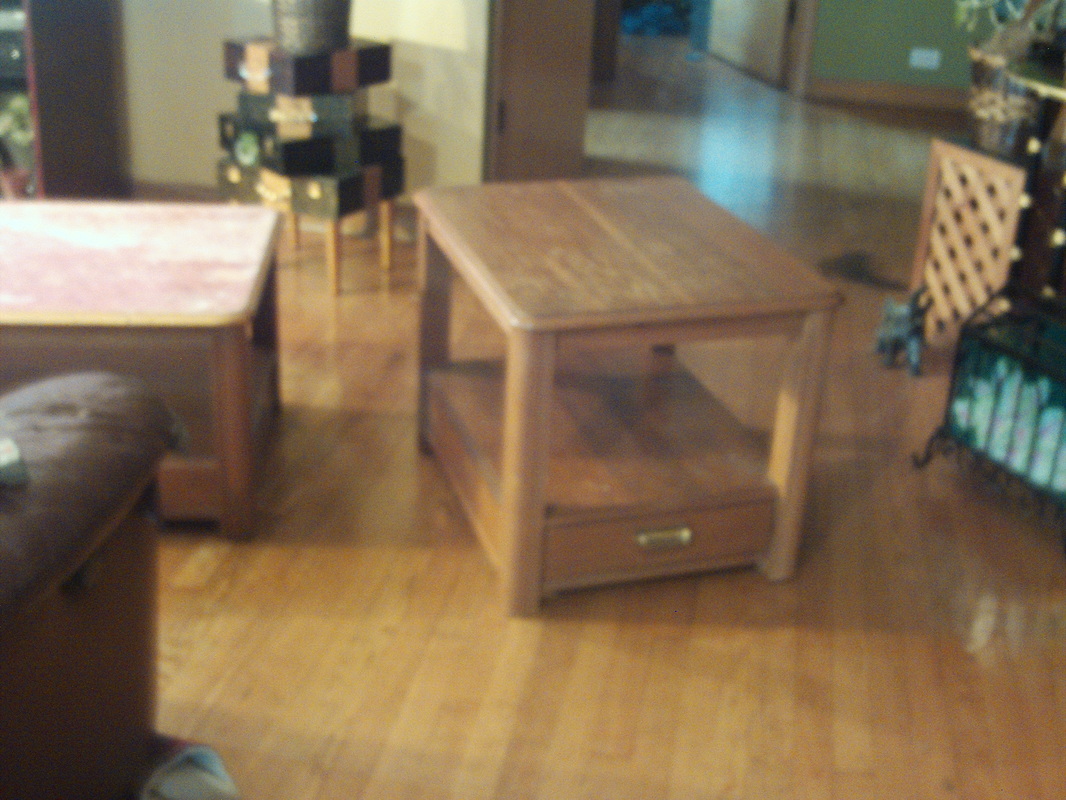
this was a completely different painting with a white and gold frame...all my frames are black in the livingroom.
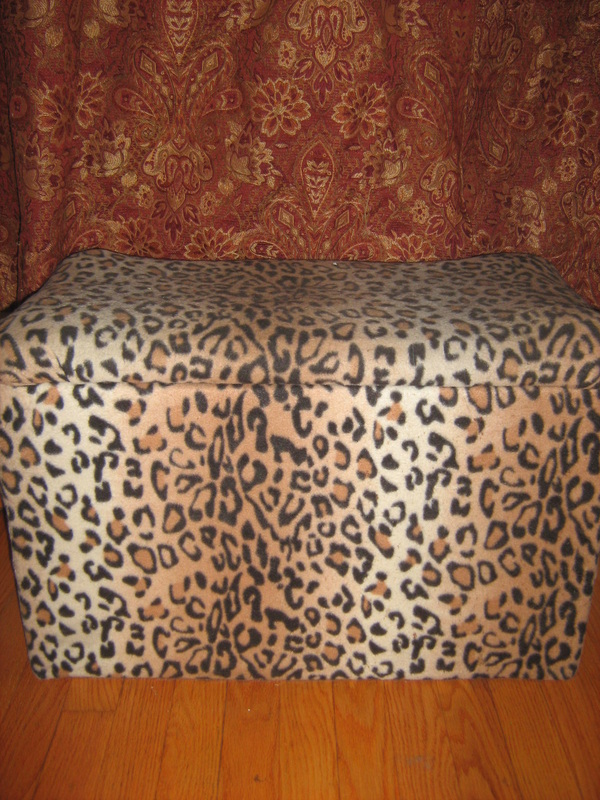
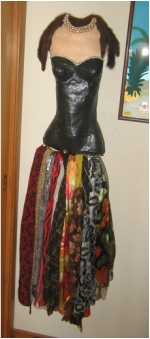
this was from the 30's really ugly so I just re did it with this blanket I got from a garage sale it was $3.00
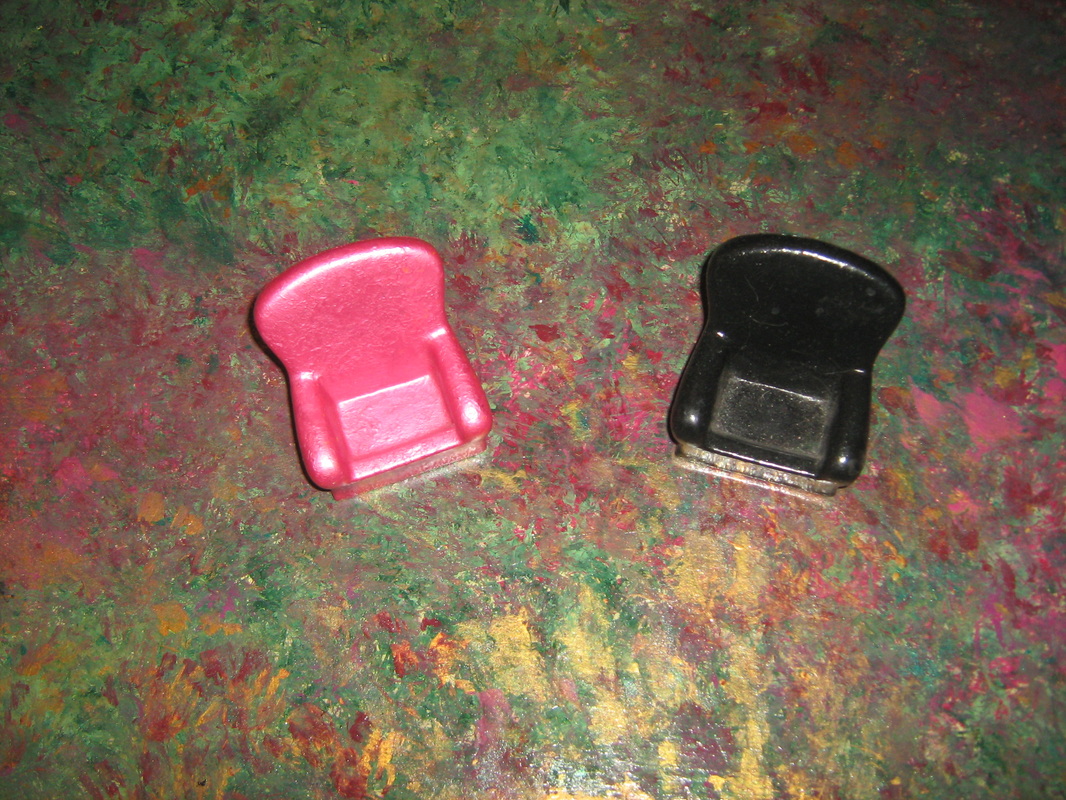
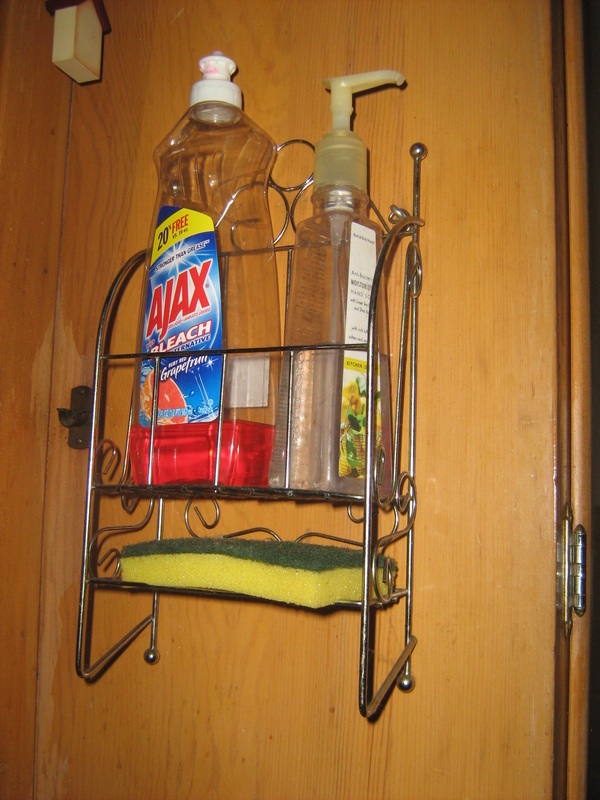
these are phone cozies....but they were ugly colors with ads on them.. i painted them to match my living room.
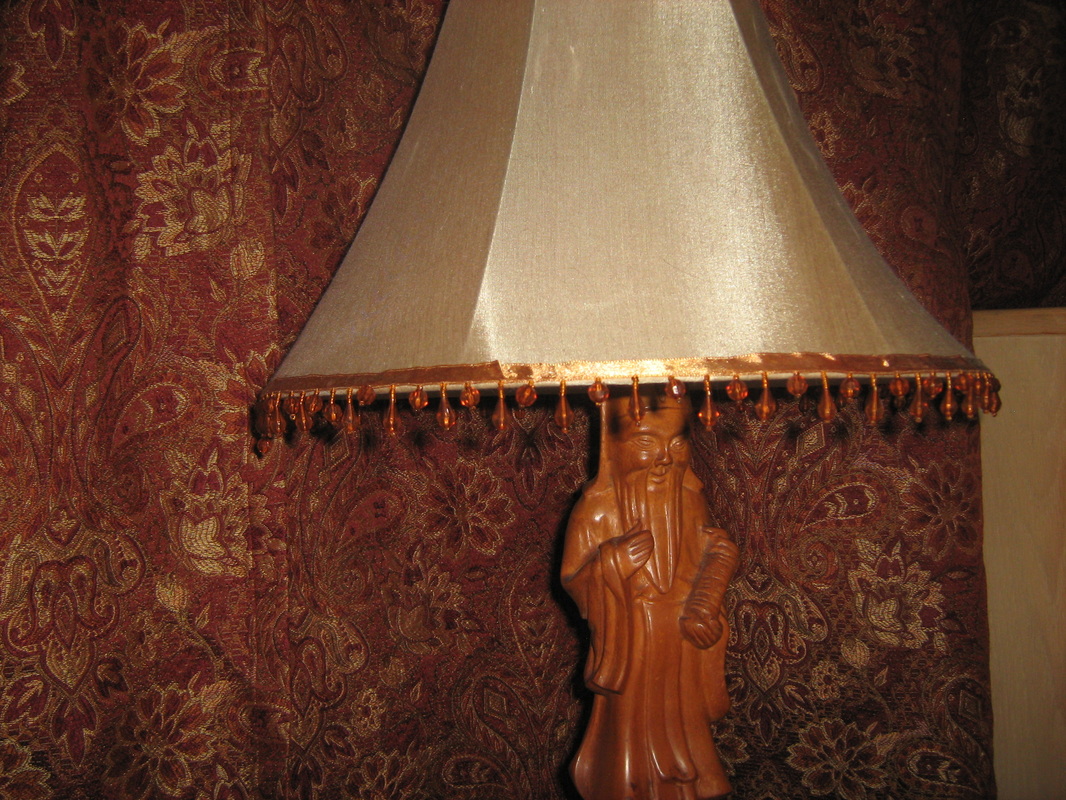
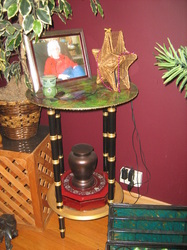
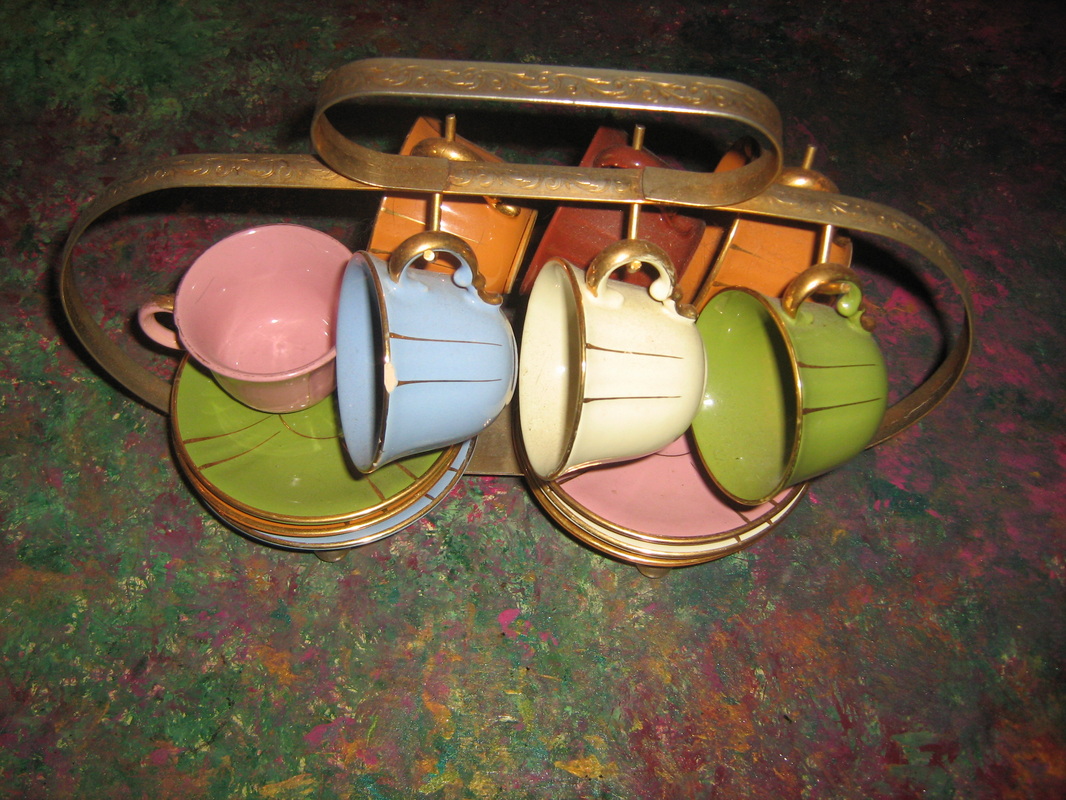
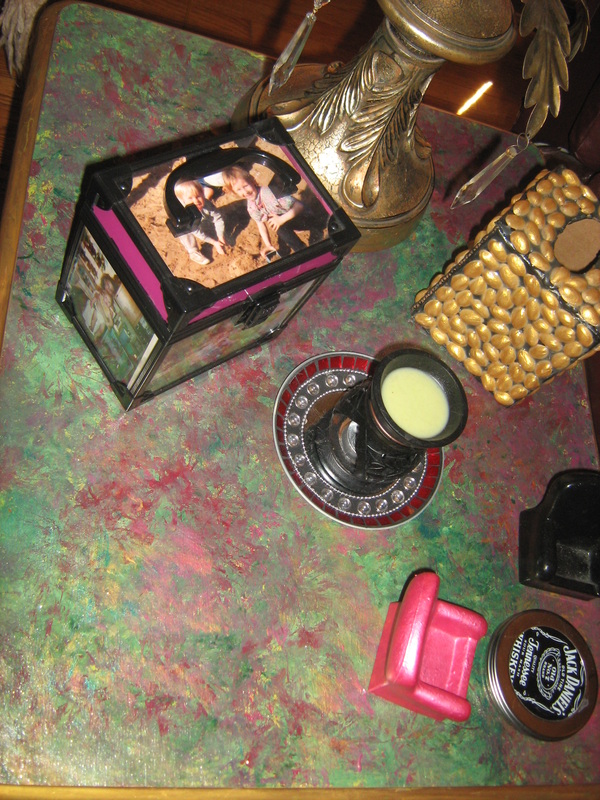
Loved the lamps his and hers king and queen antiques..lol so were the shades...I found these for $2.00 at a garage sale and added these beads I bought for $3.99
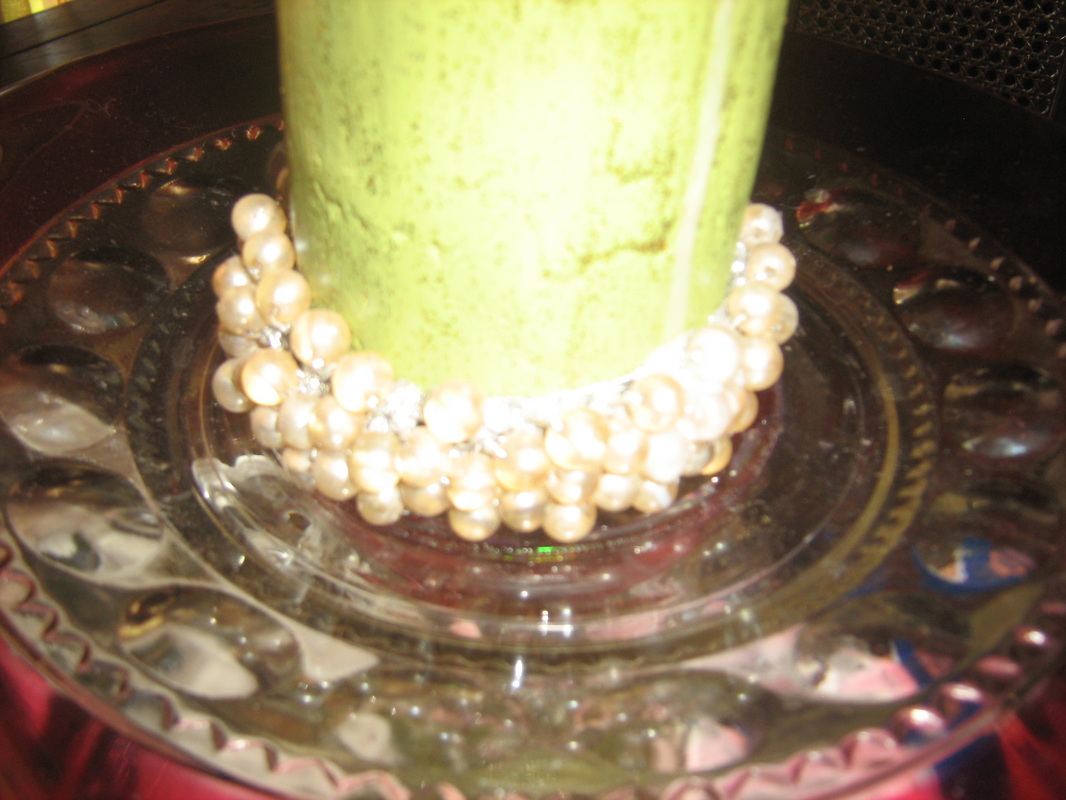
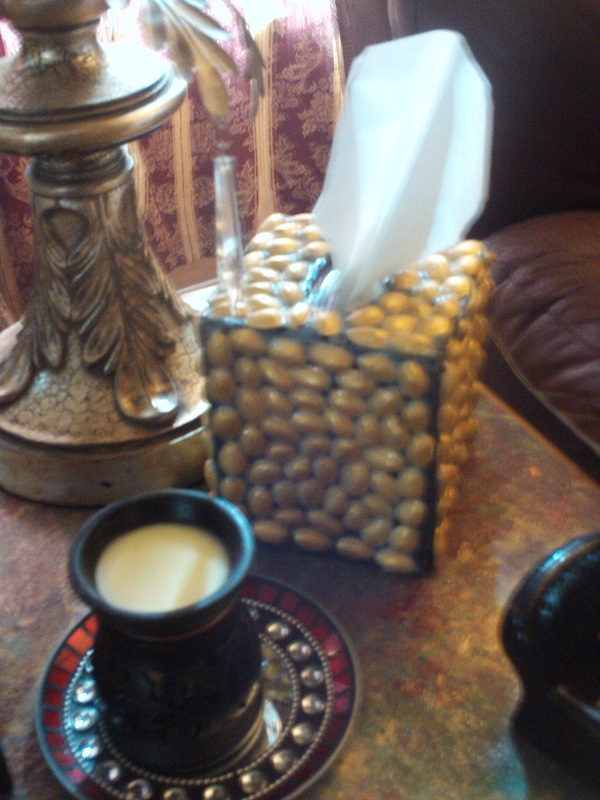
I like to dress up my candles with beautiful bracelettes....this is all pearls on an elastic band...thanks Margo S.
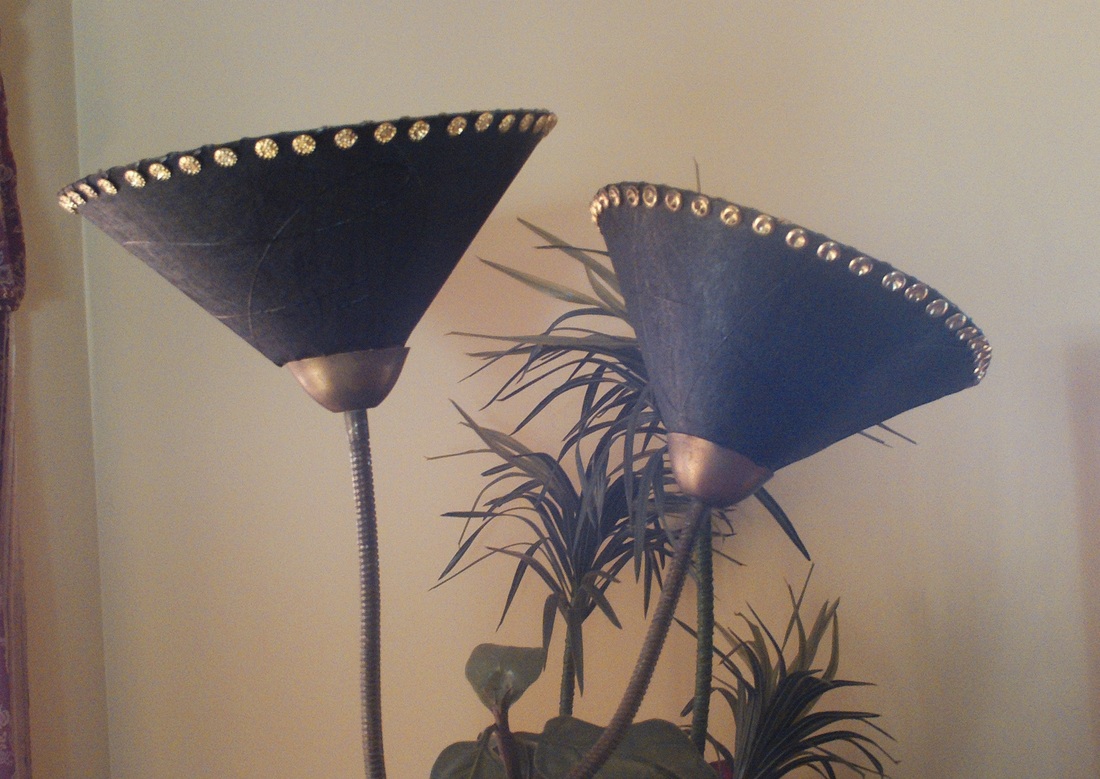
these lamps were more of a red cowboyish type...I painted them black and took off the sewn leather straps from the edges and replaces with gold buttons I had.
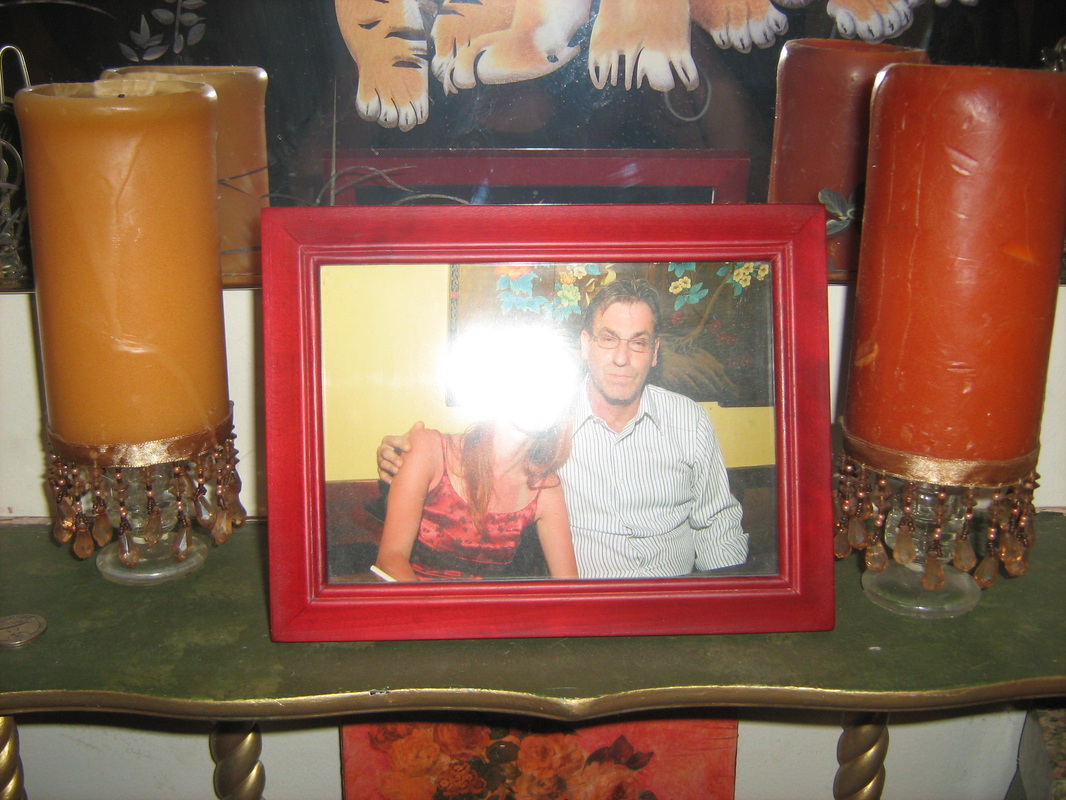
I added the beads to these candles
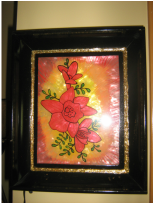
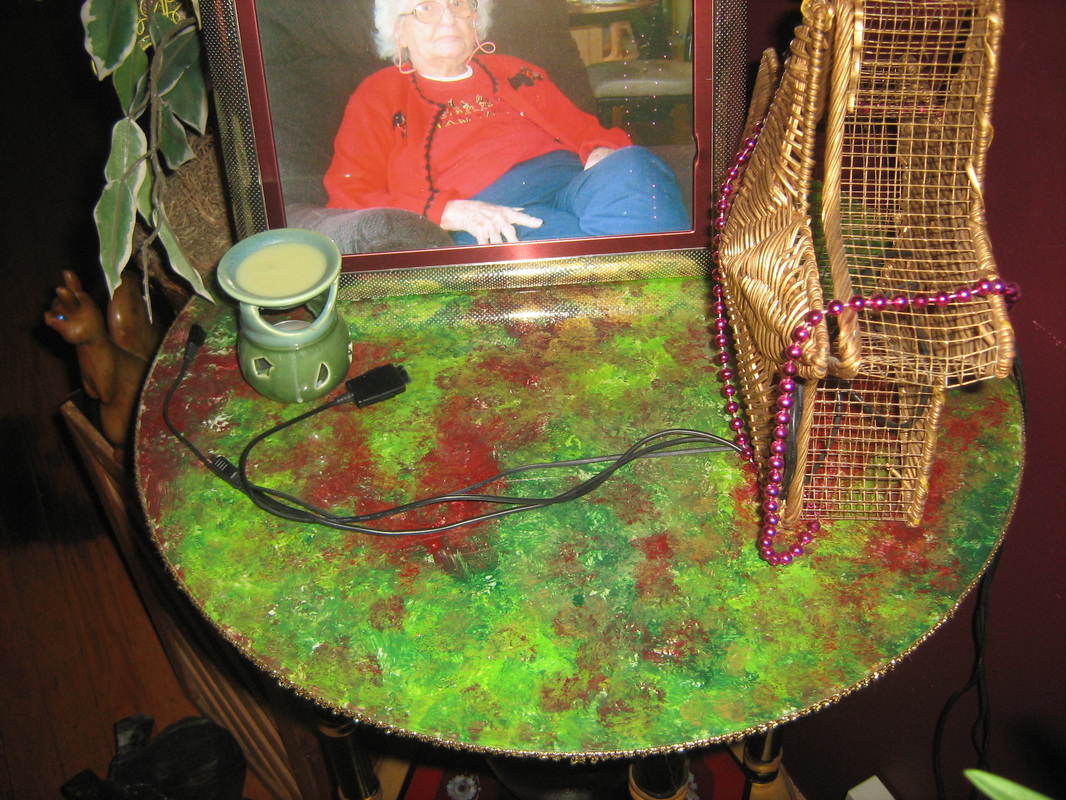
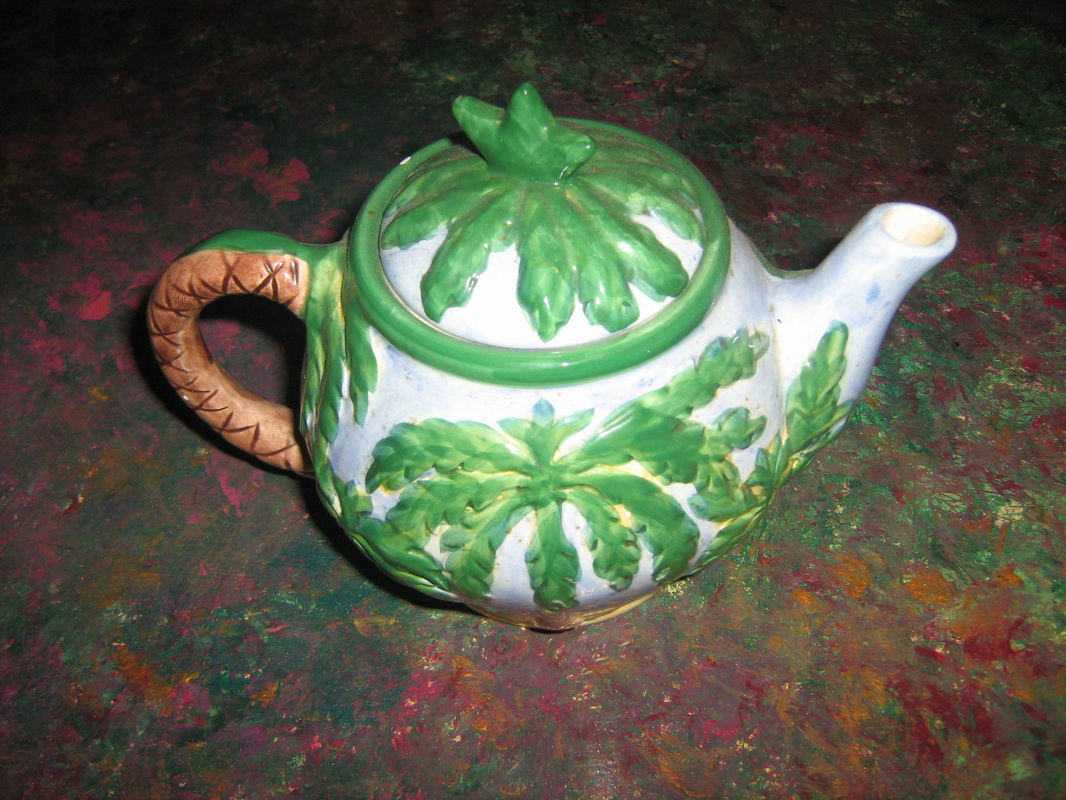
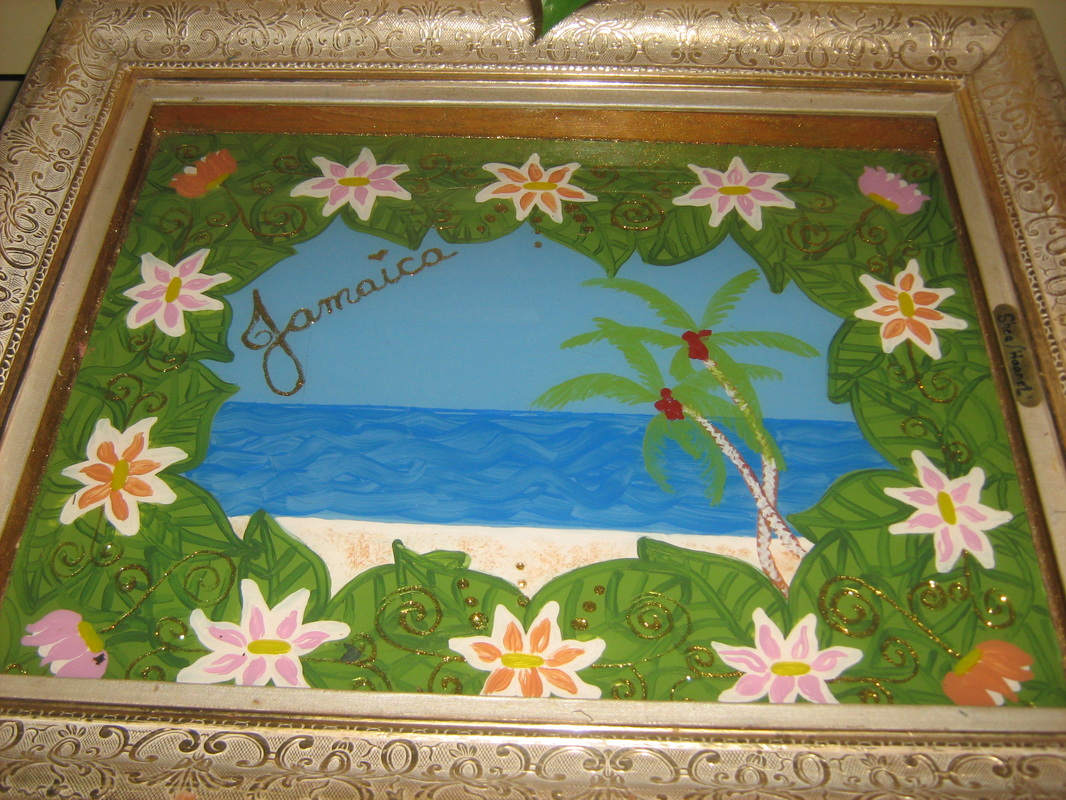
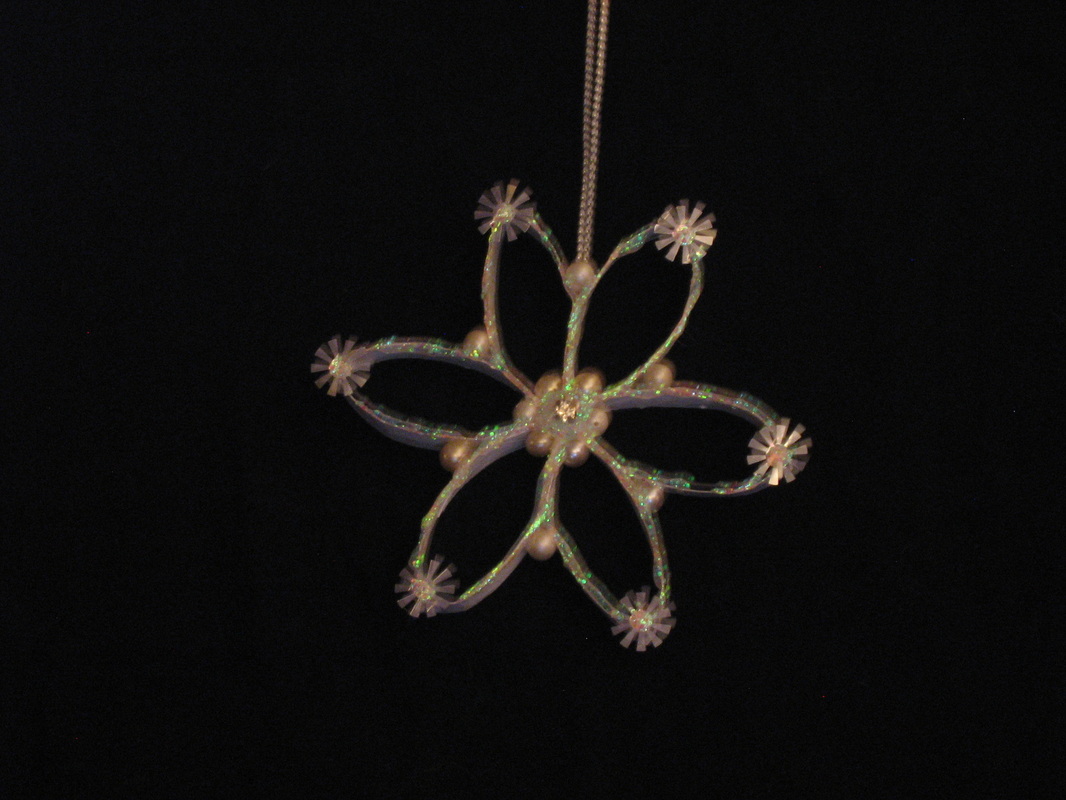
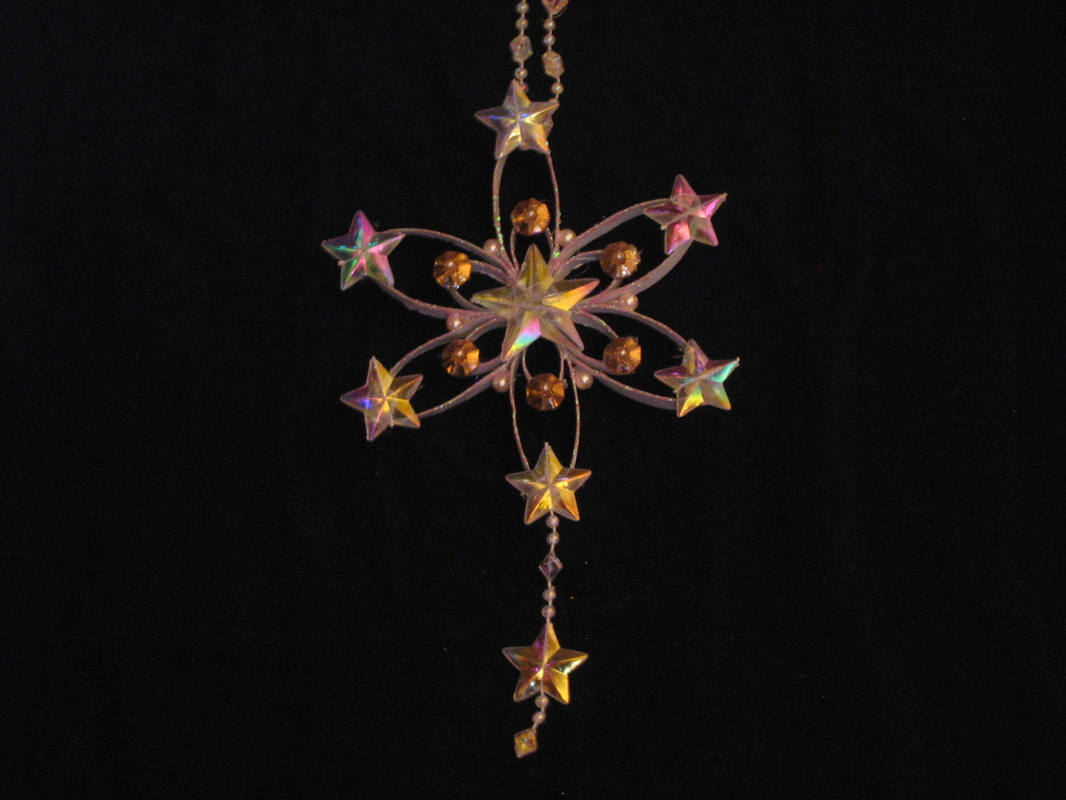
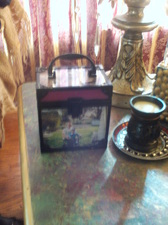
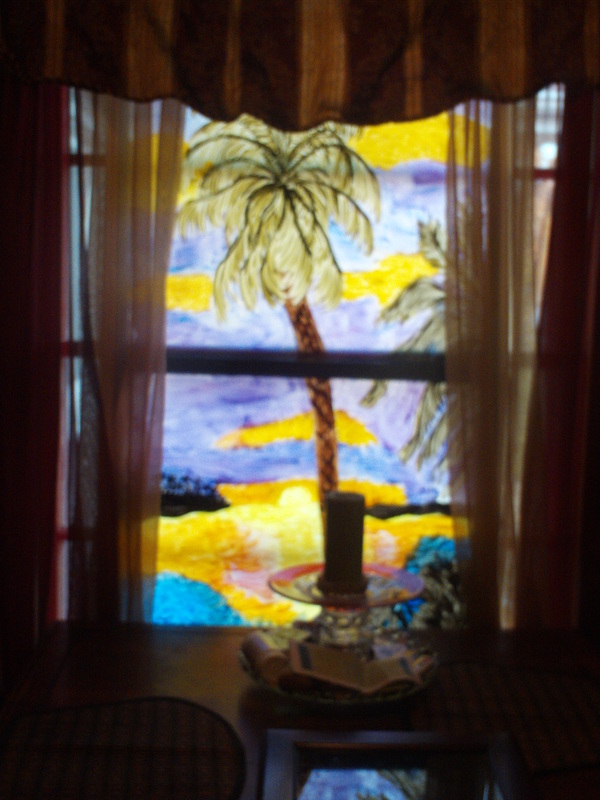
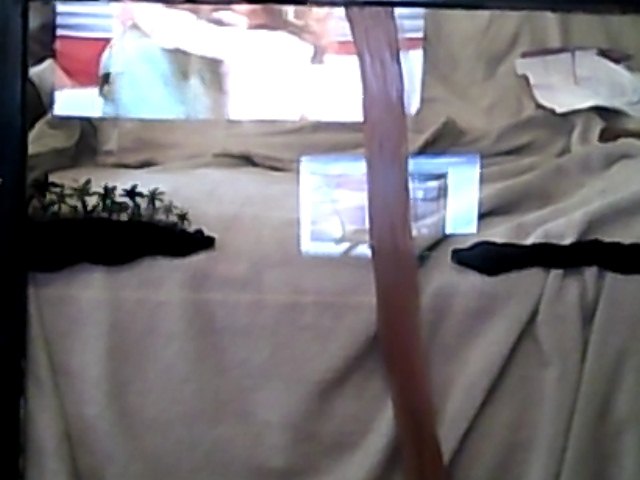
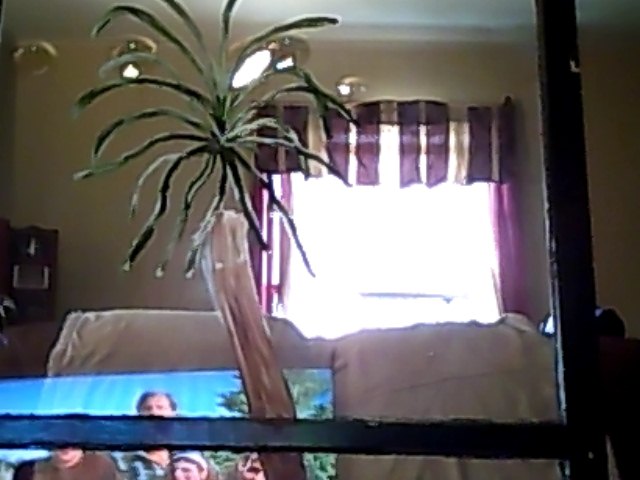
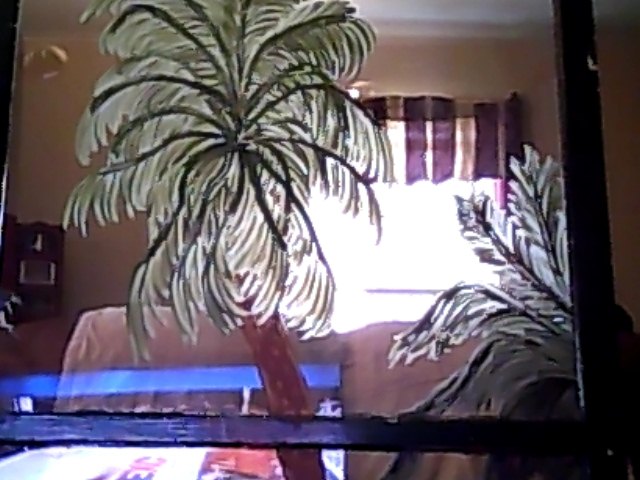
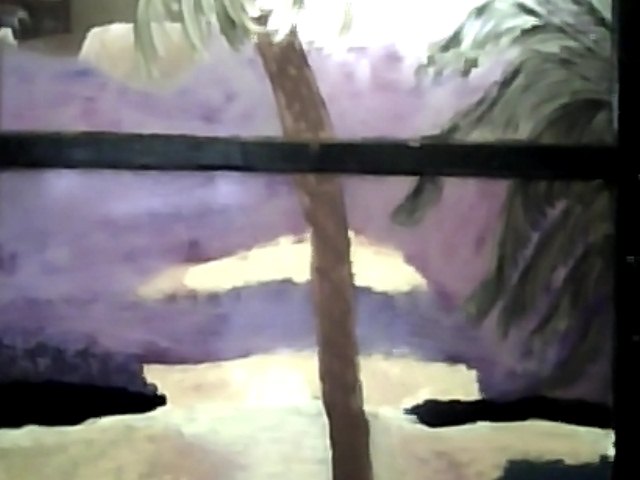
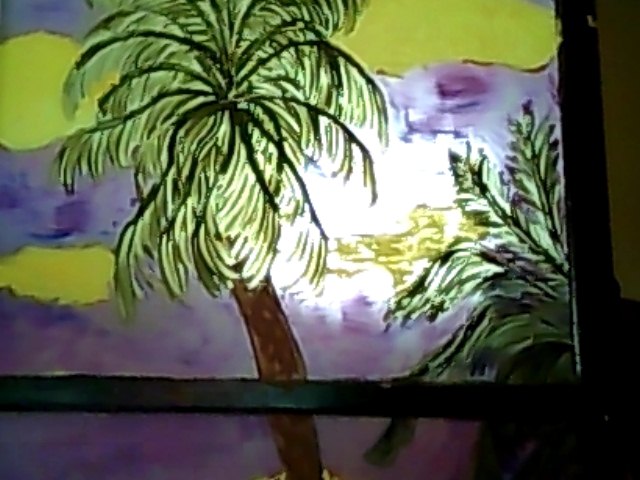
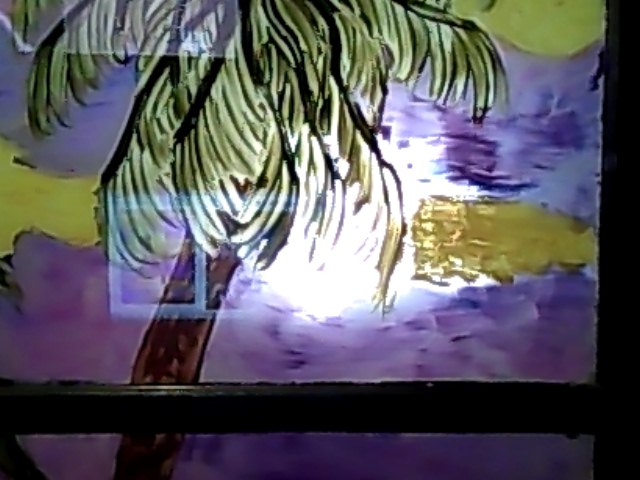
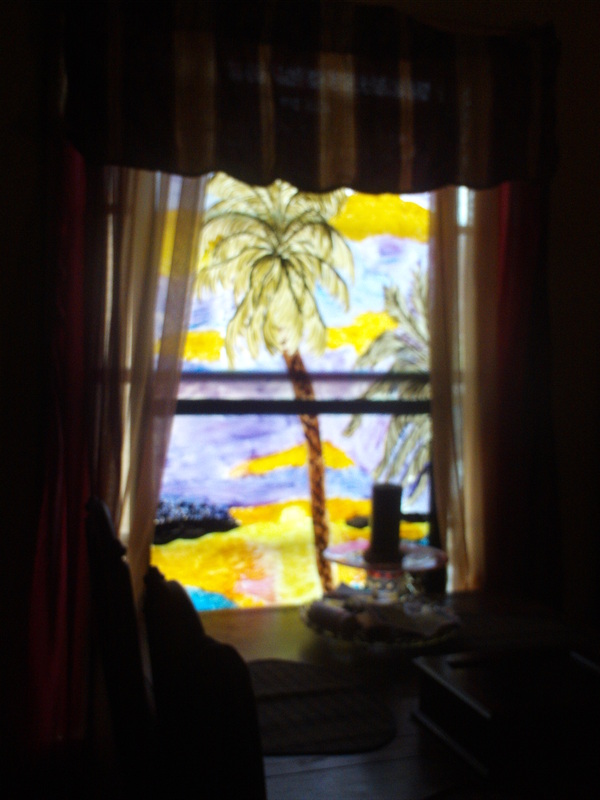
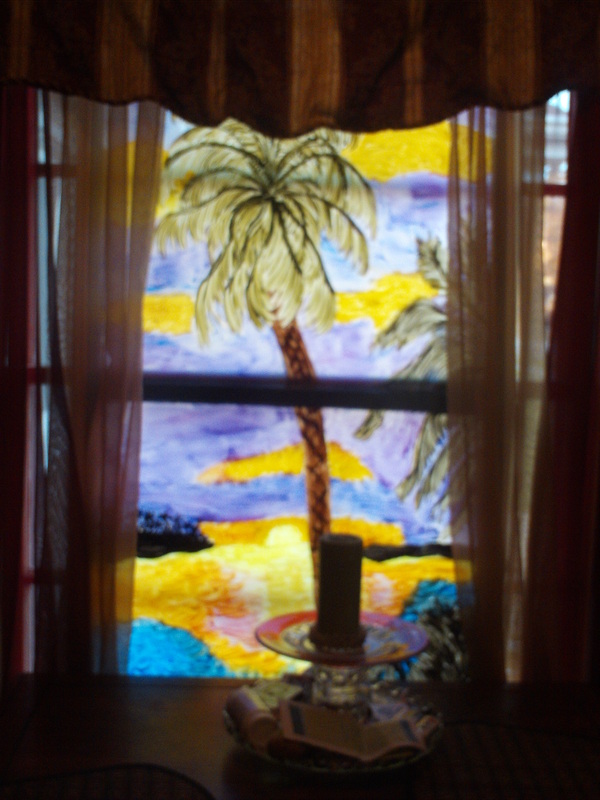
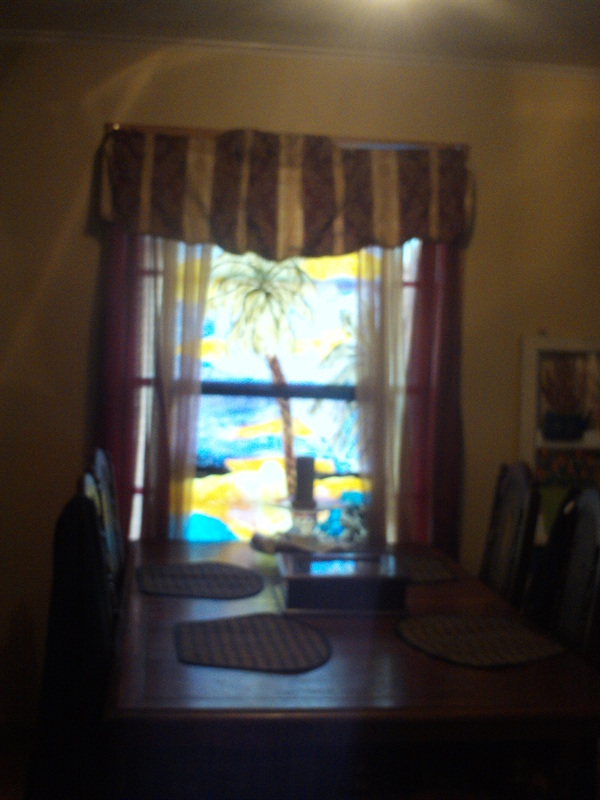
did nt care for the pic it was so I put foil over it (to help reflect the light) and painted the frame black then painted this glass to allow the light to go through it. in my enterence way and really pretty at night when lit up!
I love scarfs with my suits....Yes I do. I had no way for me to see them easily and they certainly were not beautiful to look at....I used what I had at hand to make this. It is paper mache with strips of screen in it for added strength (this was befor I knew how to make plastic). There is a peice of wood in the bottom with ribbon running around the bottom to hold the scarfs like a skirt. I decorated it and saved Grandma Milly's mink stole for the back of it ( not attached). to hang I put a peice of wood from side to side horizontally by the under arms and attached the wall hanger. This took many hours and planning to do but was well worth it!
I bought this years ago for under $5. After a few years the globe broke and I was going to throw it away when I realized it would be a great table.
I painted it black and gold and added an old table top i found in the trash. I painted it in reverse and finished the edge with gold cording. An old cake plate fit into the bottom hole and turned that into a shelf. We keep grandma and her ashes here.
We made it into our phone charging station and we love it!
3 examples of repurposing, reusing, and being creative
Thank You Nicki
I was given a manicure set in this box. I remember when I opened it and said "oh this is nice" I was talking about the box. This is grandma Milly when she was young and vibrant. She passed away in 2009 but she is always with us. With this is our rest room we see her everyday..a few times. I loved this pic and just picked out some things she loved to create this Picture frame memory box.
Thank You Sarah
I was given Make up in this box. Again I thought "wow" i looked at this box for monthes knowing I wanted to do something special with it. What could be more special than pictures of my family???? I added a little color and now i have a great picture cube box...
Thank You Marc and Chrise
I was given some glass oil jars with peppers in them. I love the gift and found a very practical way to use the package it came in...using two small eye hooks I screwed it to my upper side cabinet. It keeps what I need within reach and looks nice too. Repurposing, reusing, and being creative made these three gift packages gifts in their own right!
This is the tea set that started it all. One of my bestest friends Margo S. was moving and she gave me this tea set that was given to her. It is from Italy and has the colors of my livingroom dining room not to mention the tropical feeling about it. I found this tea pot at a garage sale for $3.00 and had to have it. A few days later I made this tea box. Now notice the colors in it are the same as in the tea set and the tea pot. Jamaica is my favorite place in the world...so far!
A great friend Bonnie G found this frame and thought I could do something with it...as she said "it is so beautiful, it would be ashame for it to be thrown away". I agreed and made the glass tray with the reverse painting on it. You can see how together it looks so beautiful and I love it for so many reasons....including my sons first two words together were "HOT TEA" which is Painted on the inside of the tea box! By repurposing, reusing, and being creative I have a tea set to treasure!
The table we all sit around and watch tv, eat, and use everyday gets ,well, messy! We purchased it new when our youngest was 5....he is now 23 and the table just gets a new paint job every year or two. I change it depending on how bad it looks and to just switch things up.
this was what they looked like...the unpainted one was in the basement but I wanted to use it and it match!
this was the unpainted one.
this ws painted many times last time it was a pink, white and gold. this time I painted them black and gold with the marble...you cannot see the glitter in it...I love bling
This is the box my Makeup gift came in. I kept thinking what can i do to this great box.... decided to put a new spin on the old picture cube...this is just like a cube only it opens and more pics inside...I painted the upper part of the box to match my living room. I taped the pics in so I can change them out.....don't get on my bad side or I'll take you out....of the picture box that is!
We all have a window that looks at nothing, a wall, or in my case the garage wall. So what to do to make it a little more interesting and warm??? Why just wish for that magnificant view? I created the view of my dreams! I took an old window I found and painted a tropical sceen on it. Before painting I cleaned the window with rubbing alcohol and took care not to touch the glass with my skin. As I painted I was careful to not overlap the colors. When it was dry I put it in the window and proped it up higher with a 2x4 so that the center peices in the windows matched up. you can make this what ever you want...you could even have the kids do it and change it out as often as you like. At night the people outside get to enjoy the veiw!
Another very easy project but you must plan for it! You have to eat a bag or two of pistachio nuts. Save the shells and wash in warm water let dry for a day or two. Meanwhile find a cardboard box that is around 20 inches squared. Take an empty tissue box and take it apart. lay it out only leave off the bottom (so you can put in a new box ) and the seem side make a whole side like the opposite. It is important to make it a hair larger than the tissue box so a tissue box will fit into it. Make sure to trace the opening at the top too. I used a heavy brown cardboard box so I only scored the outline into it then folded it and hot glued it. I painted the whole outside black. After the shells were dry I painted them gold then glued them to the black box and in the end put a coat of modge podge. I really love how it turned out and again it was free!